I was going through my flash drive and found some pictures of projects my class made long before I blogged 🙂
Please note that these were taken back before I had a decent camera. The sole purpose for these pictures was for me to remember my past activities. (I never noticed how warped my old camera made my pictures look.)
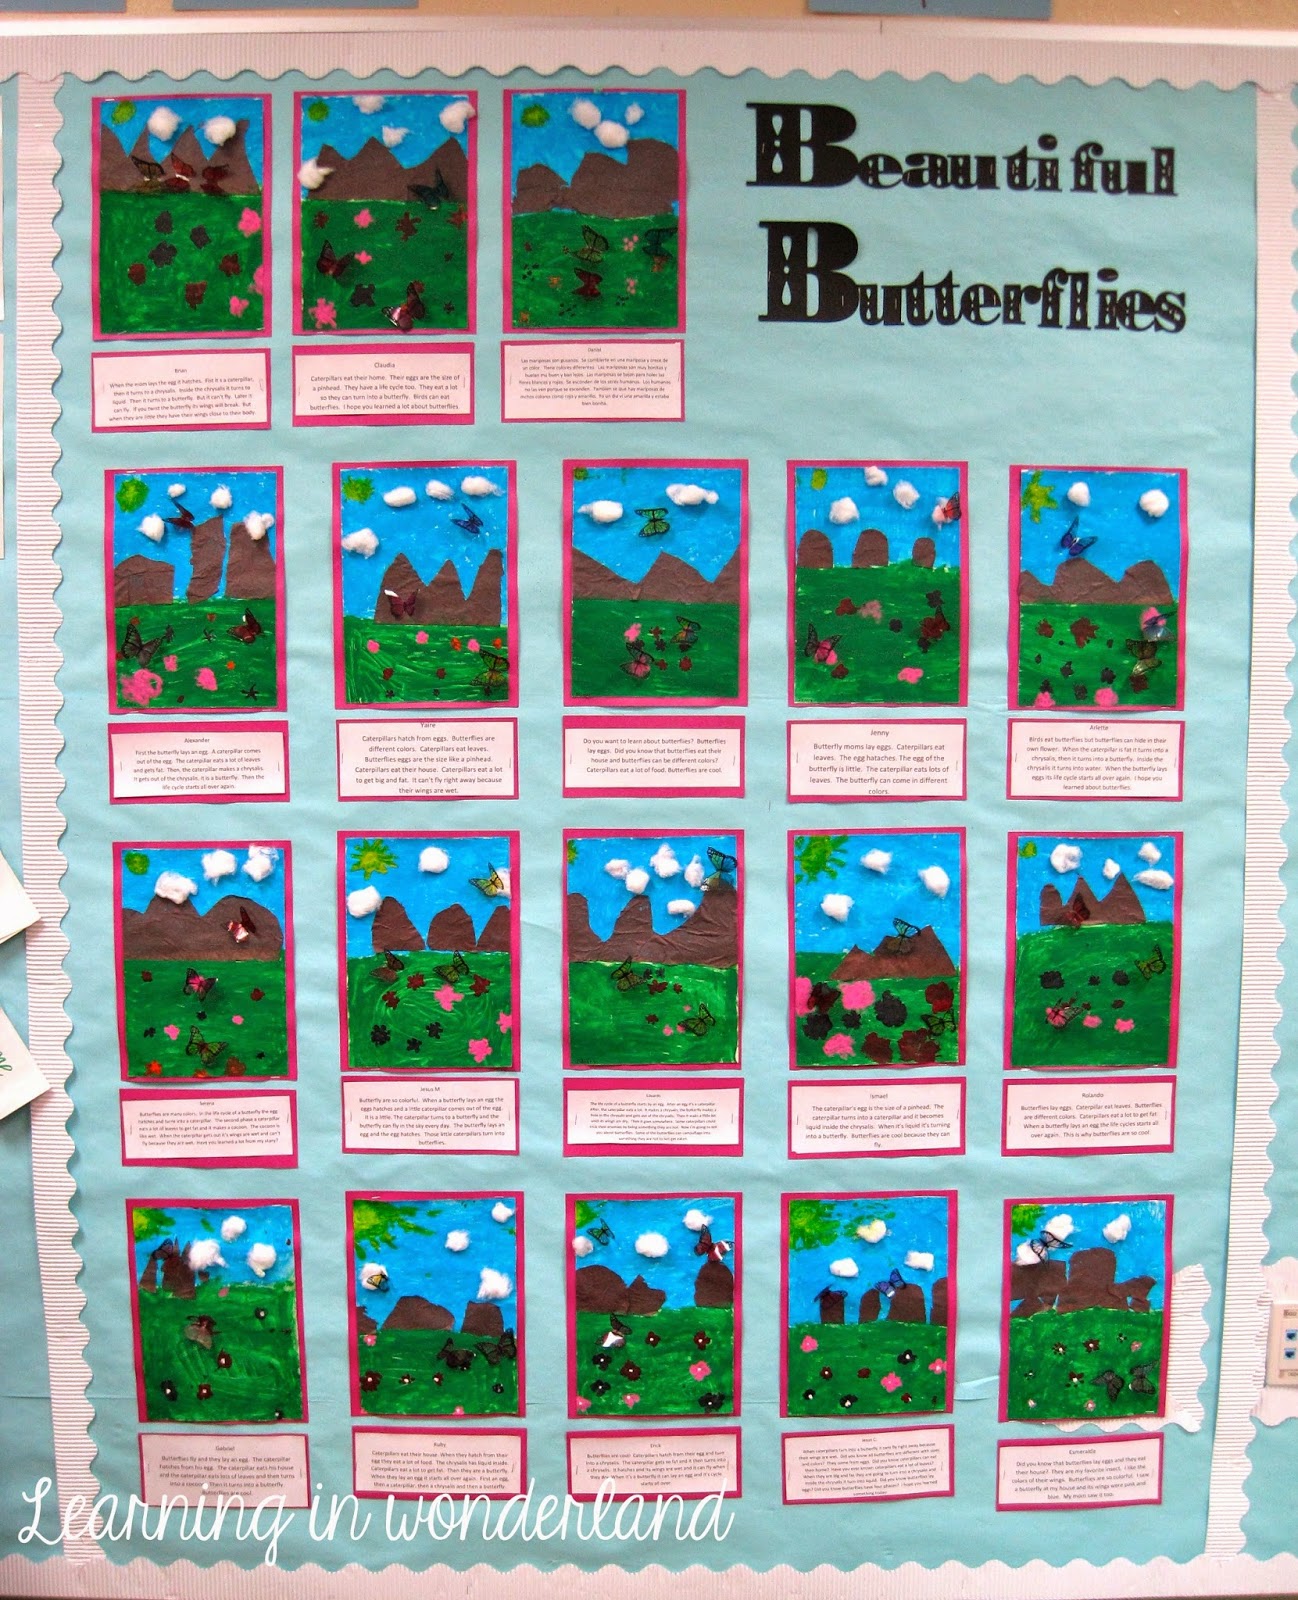
I fell in love with these the moment I saw them! This project was NOT my idea. It was created by a teacher named Mrs. Don and I found it via The Second Grade Teacher’s Club. I really wish she blogged because she has some amazing ideas!
The pictures I found did not have any directions on how to make them, so I improvised. Want to make them? Read below to find out how I made them:
Getting your butterflies:
Find butterfly clip art via Google Images. I just searched for “butterfly black and white” and tons of images popped up. I fit about 6-9 butterflies on each sheet. Then print them on transparencies. You can then cut them out or have the students can cut them out.
Directions for your students:
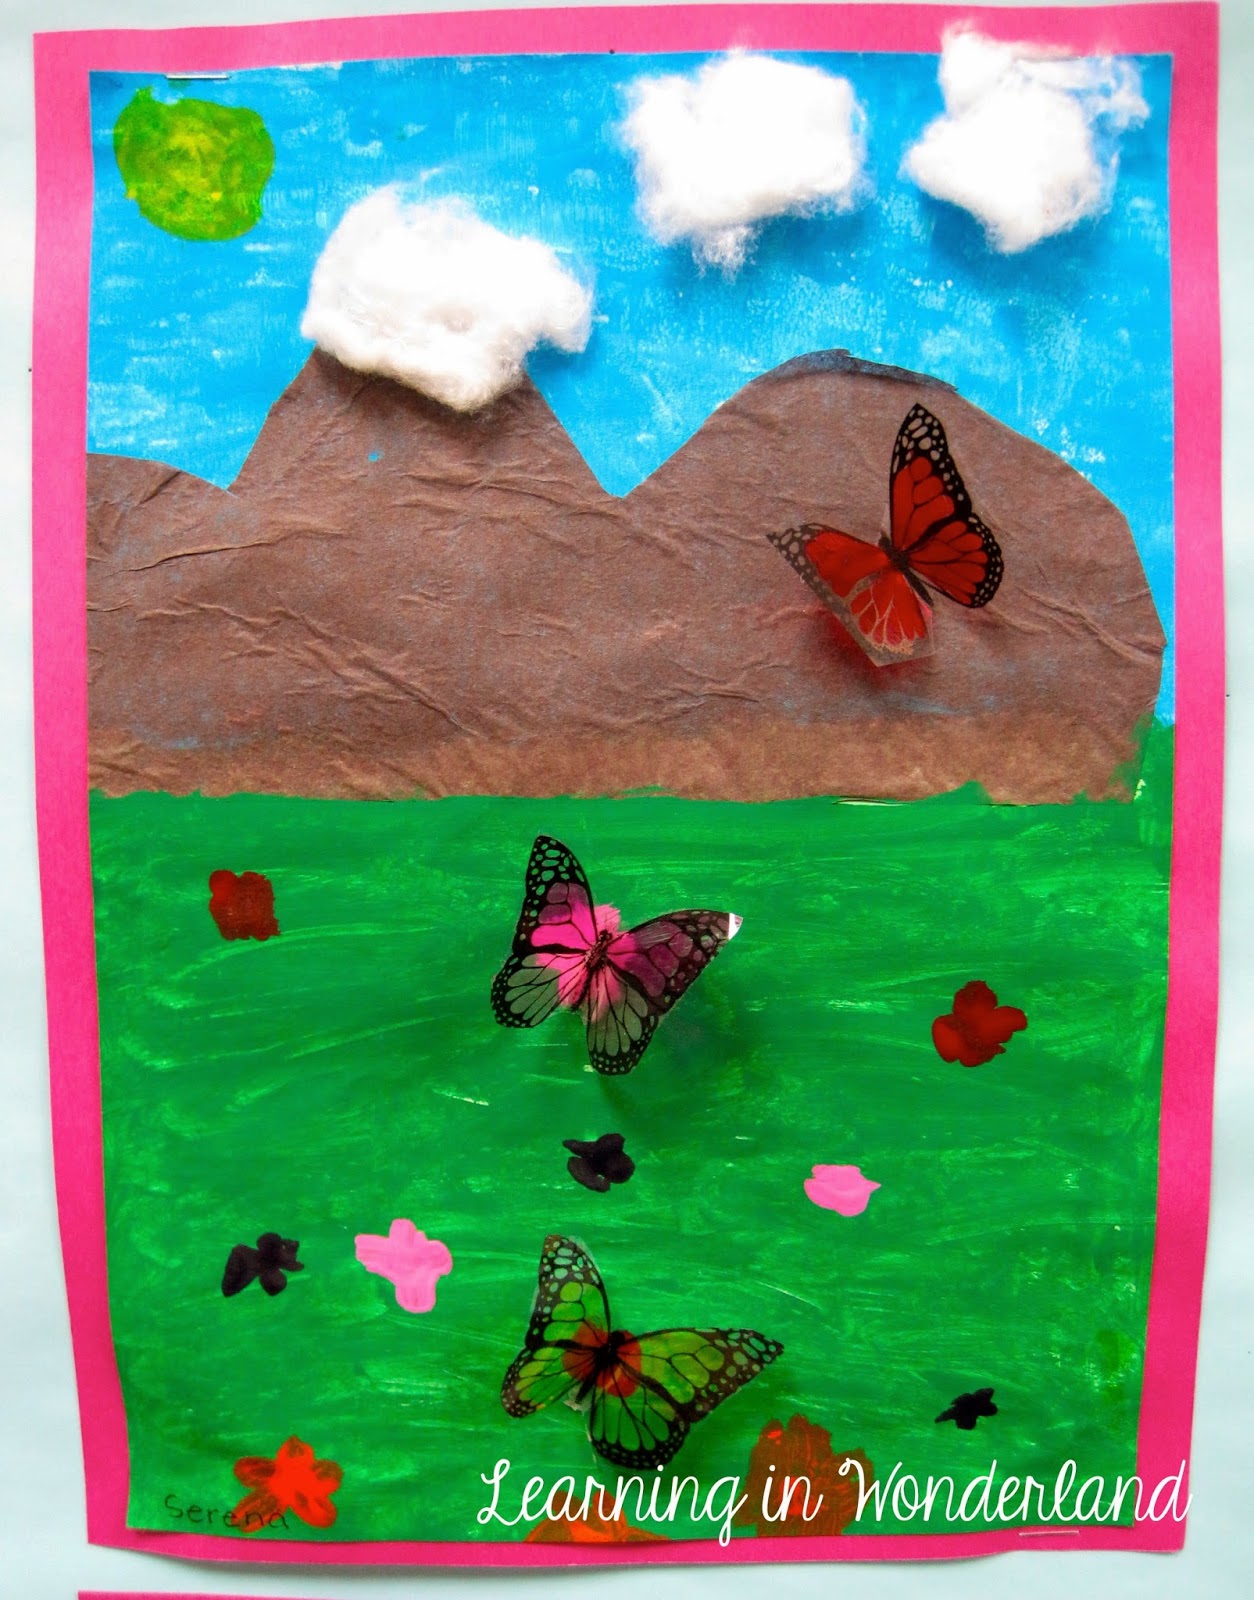
1. Paint the blue and green with tempera paint on white construction paper.
2. Use brown tissue paper to make mountains.
3. Use cotton to make clouds.
4. Pick 3 or 4 butterflies. (I made some butterflies large, medium and small.)
5. Color the butterflies with sharpies and let them dry.
6. Fold the butterflies in half and glue them down with a generous amount of glue.
7. Add details.
8. Write about butterflies.
This project did take a bit of time, you might want to do the process over a couple of days.
Another project I found in my pre-blogging pictures is this one:

It’s a directed drawing from an OLD Evan Moore book.
I did some searching via Pinterest and found this print out is now available digitally at TeacherFileBox. Click below to view it the link:
I can’t wait to make those butterflies with my first graders this year! We are going to Butterfly Wonderland soon and it would be the perfect project to wrap up our study.