If you’ve been following me for a while on Instagram, you know that I love my Happy Planner. I get asked lots of questions about it every time I share a picture, so I wanted to give the answers with you here just in case you are wondering some of the same things. I am including some Amazon affiliate links throughout this post for your convenience so everything is easy to find.
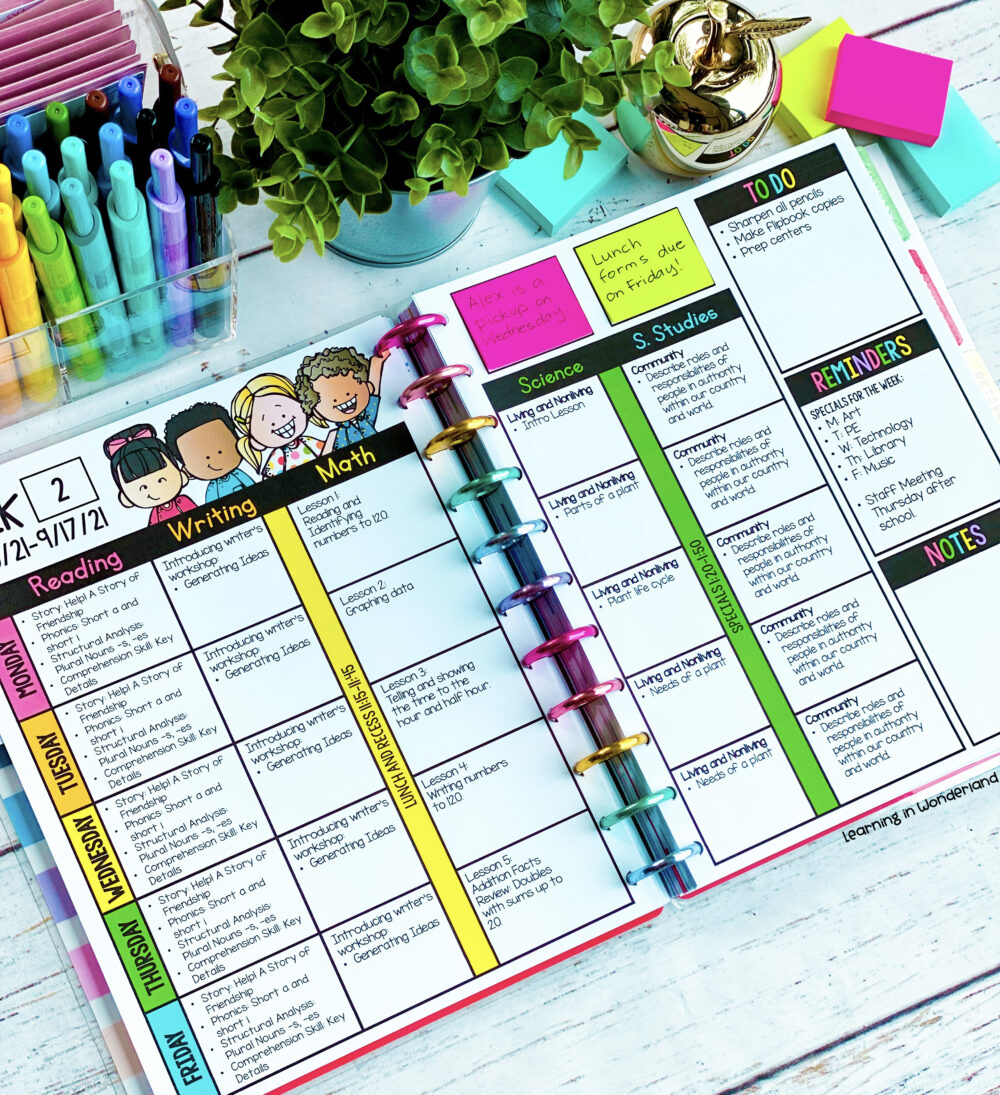
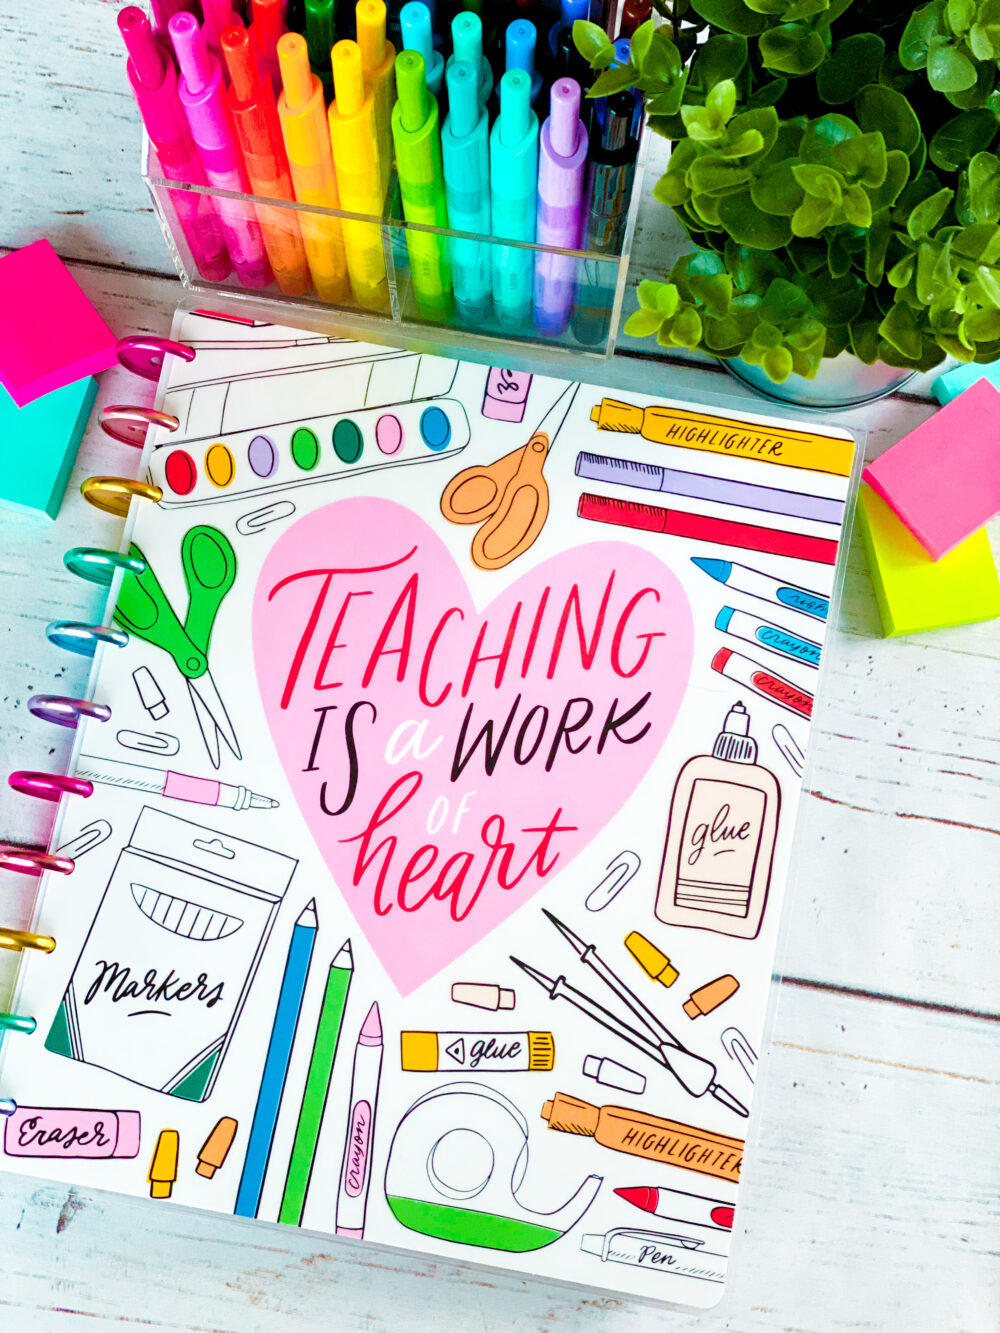
For reference, this is my current planner:
Let’s get started:
- Where do you get your dividers?
- I’ve been using a Happy Planner for a while and they come with the dividers.
- Where can I get those colorful rings?
- Happy planners come with discs. Mine originally came with black ones and I decided to upgrade to some rainbow metallic ones I found at Hobby Lobby. The nice thing about that is that I can take them out and reuse them over and over again. You can also find these rainbow metallic discs on Amazon HERE.
- What kind of paper do you print on?
- I usually print on standard printer paper, but my color printer started having issues with thin sheets so I moved up to THIS paper and it’s worked really well. The colors are showing up brighter and the ink isn’t showing through to the other side.
- Do your lesson plan templates fit inside your planner or do you have to trim them down?
- Happy Planners come in different sizes. Here is a huge tip I have for those of you considering a Happy Planner. I highly suggest getting the big version such as THIS PLANNER. The big version fits standard sized sheets of paper so adding things to it is super easy! You just print, punch, and pop your pages right in.
- To piggyback on this point, you will need the Happy Planner punch in order to do this. I suggest going with THIS ONE because it will work for any size planner you go with down the road.
- What if I have a Classic sized planner?
- You can still add your inserts, but there is a huge downside. You will have to reduce the print size to around 80% and then you will have to trim your pages down with your paper cutter or scissors. To me, that just didn’t sound appealing so I made sure to always grab the Big one.
- Where do you get your cover?
- I’ve been using the covers that came with my old planners and switched them up throughout the year. This year I started making some fun ones and I’ve enjoyed changing them up. You can see some of the ones I’ve made HERE.
- How do you print so much in color?
- When shopping for a printer, I made sure to go with an HP printer that is Instant Ink compatible. If you’re not familiar with Instant Ink, it’s a subscription based printing service that hooks up wirelessly to your printer. Whenever it runs low, it sends a message to HP to send you new ink. You will never be low on ink because they keep you stocked! They have different options for printing each month. I pay around $10 for 300 pages of printing. It doesn’t matter if those pages are in color or in black and white. I now never worry about printing in color. Curious about my printer? I grabbed this one last year after trying out several models and it has been perfect!
- Where can I get the things you add into your planner?
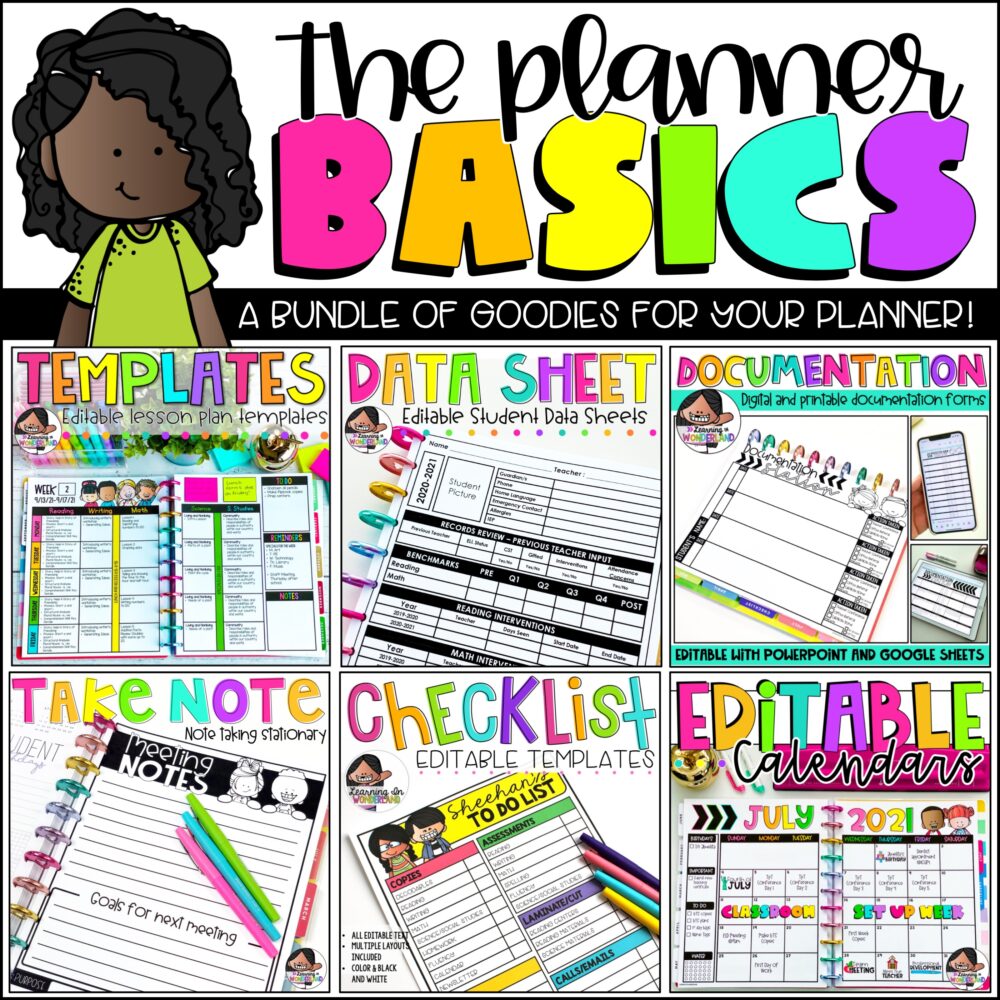
- I have been adding things to my Happy Planner for years now. All of these resources are available on their own in my shop, but I also have a huge bundle that includes them all.
I’m linking some of my most popular inserts for you below. You can check them out by clicking on the picture or the links below the pictures:
Lesson Plans linked HERE
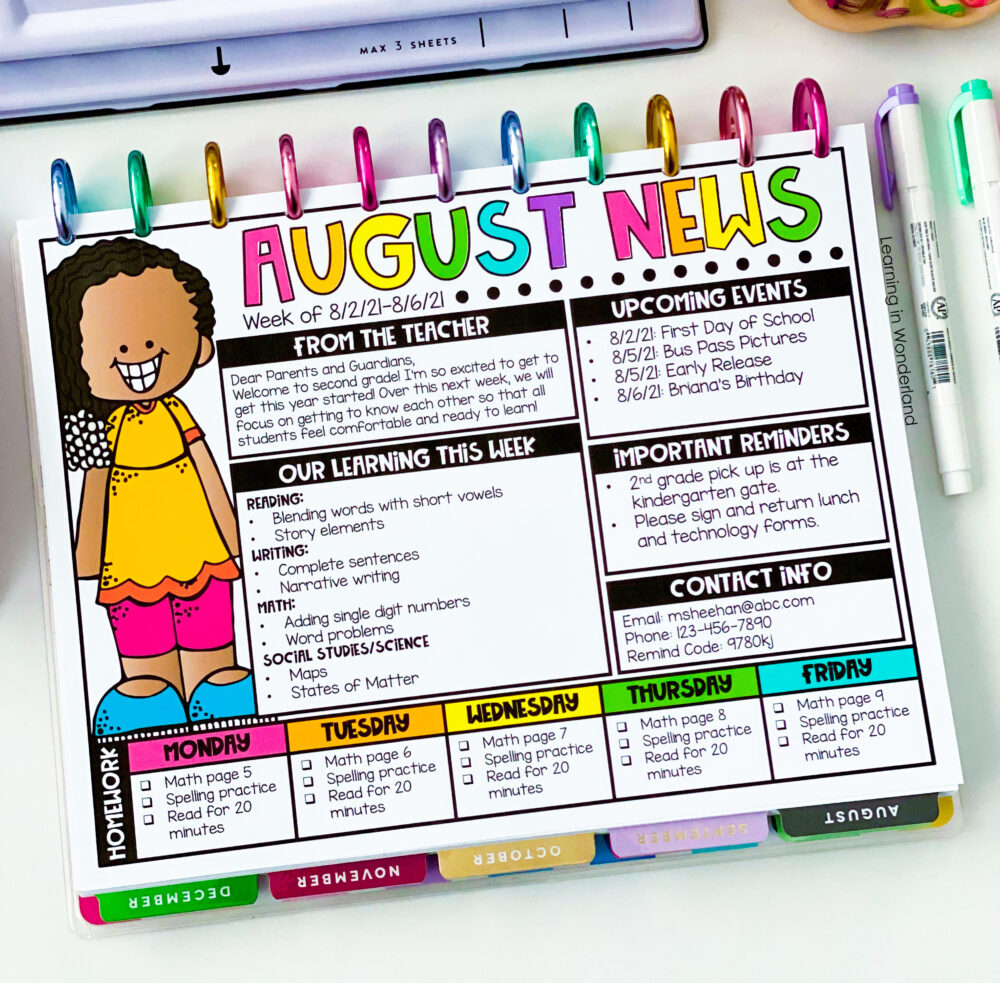
Newsletters linked HERE
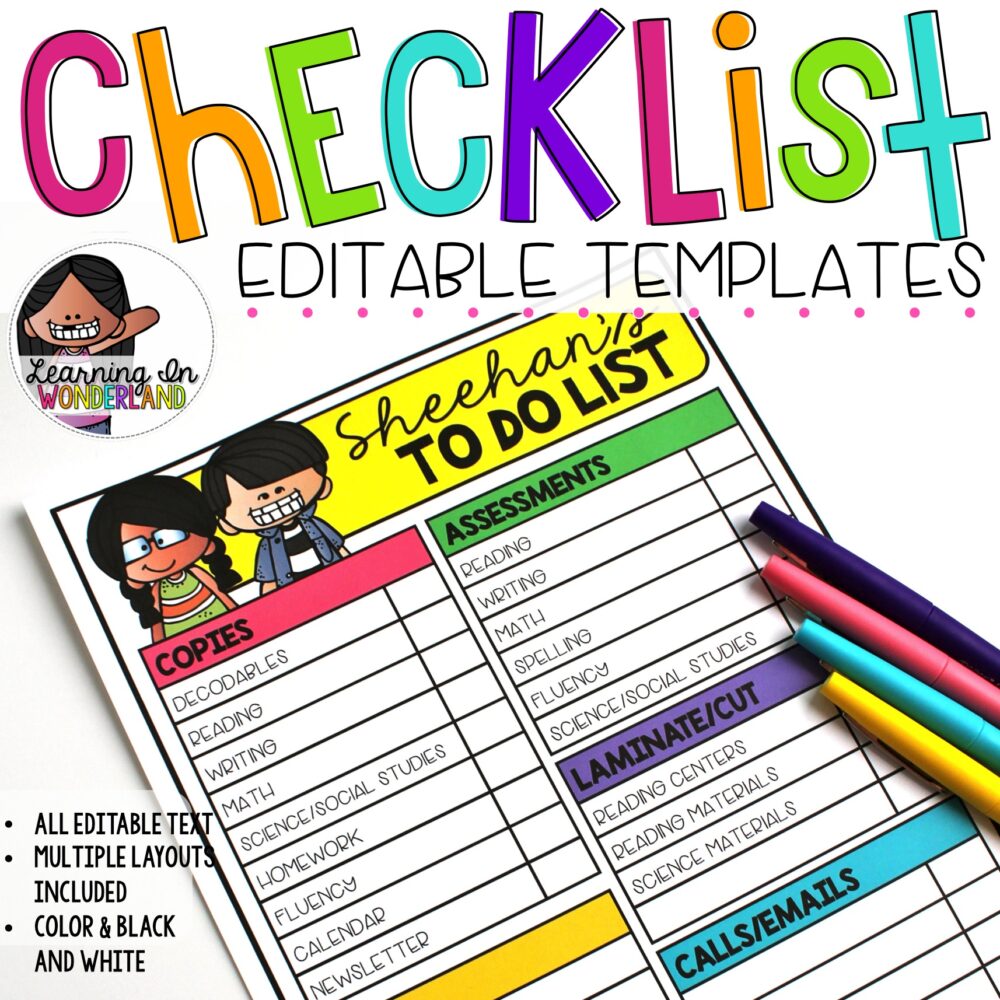
Checklists linked HERE
Data Sheets linked HERE
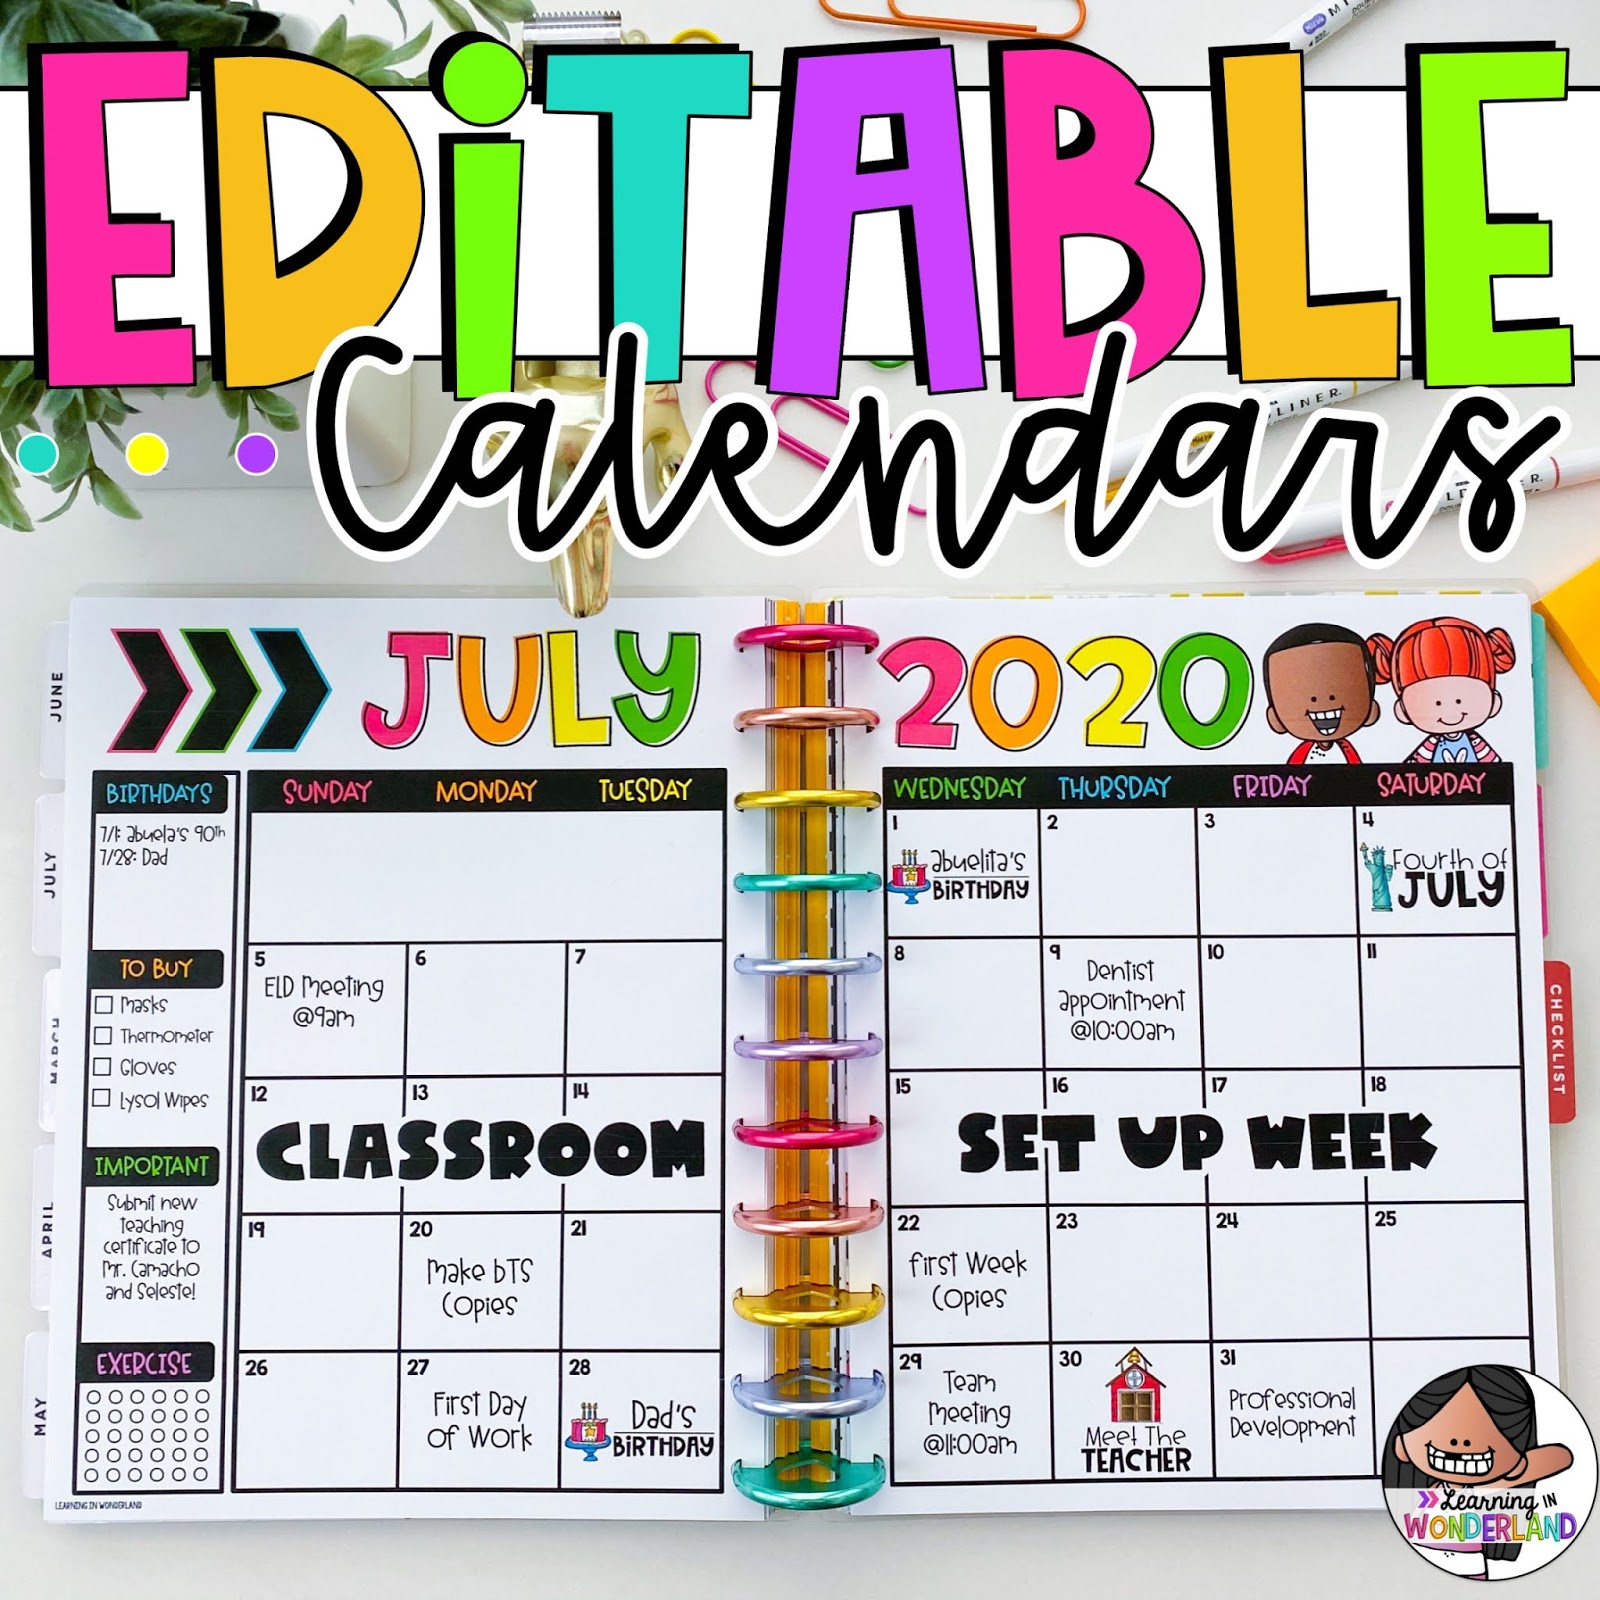
Calendars linked HERE
I have two bundles that include my planner inserts.
The Planner Basics linked HERE
The Planner Essentials linked HERE
I hope this post was helpful to you! If you have any further questions, please feel free to hit the contact button at the top and send me a message!
