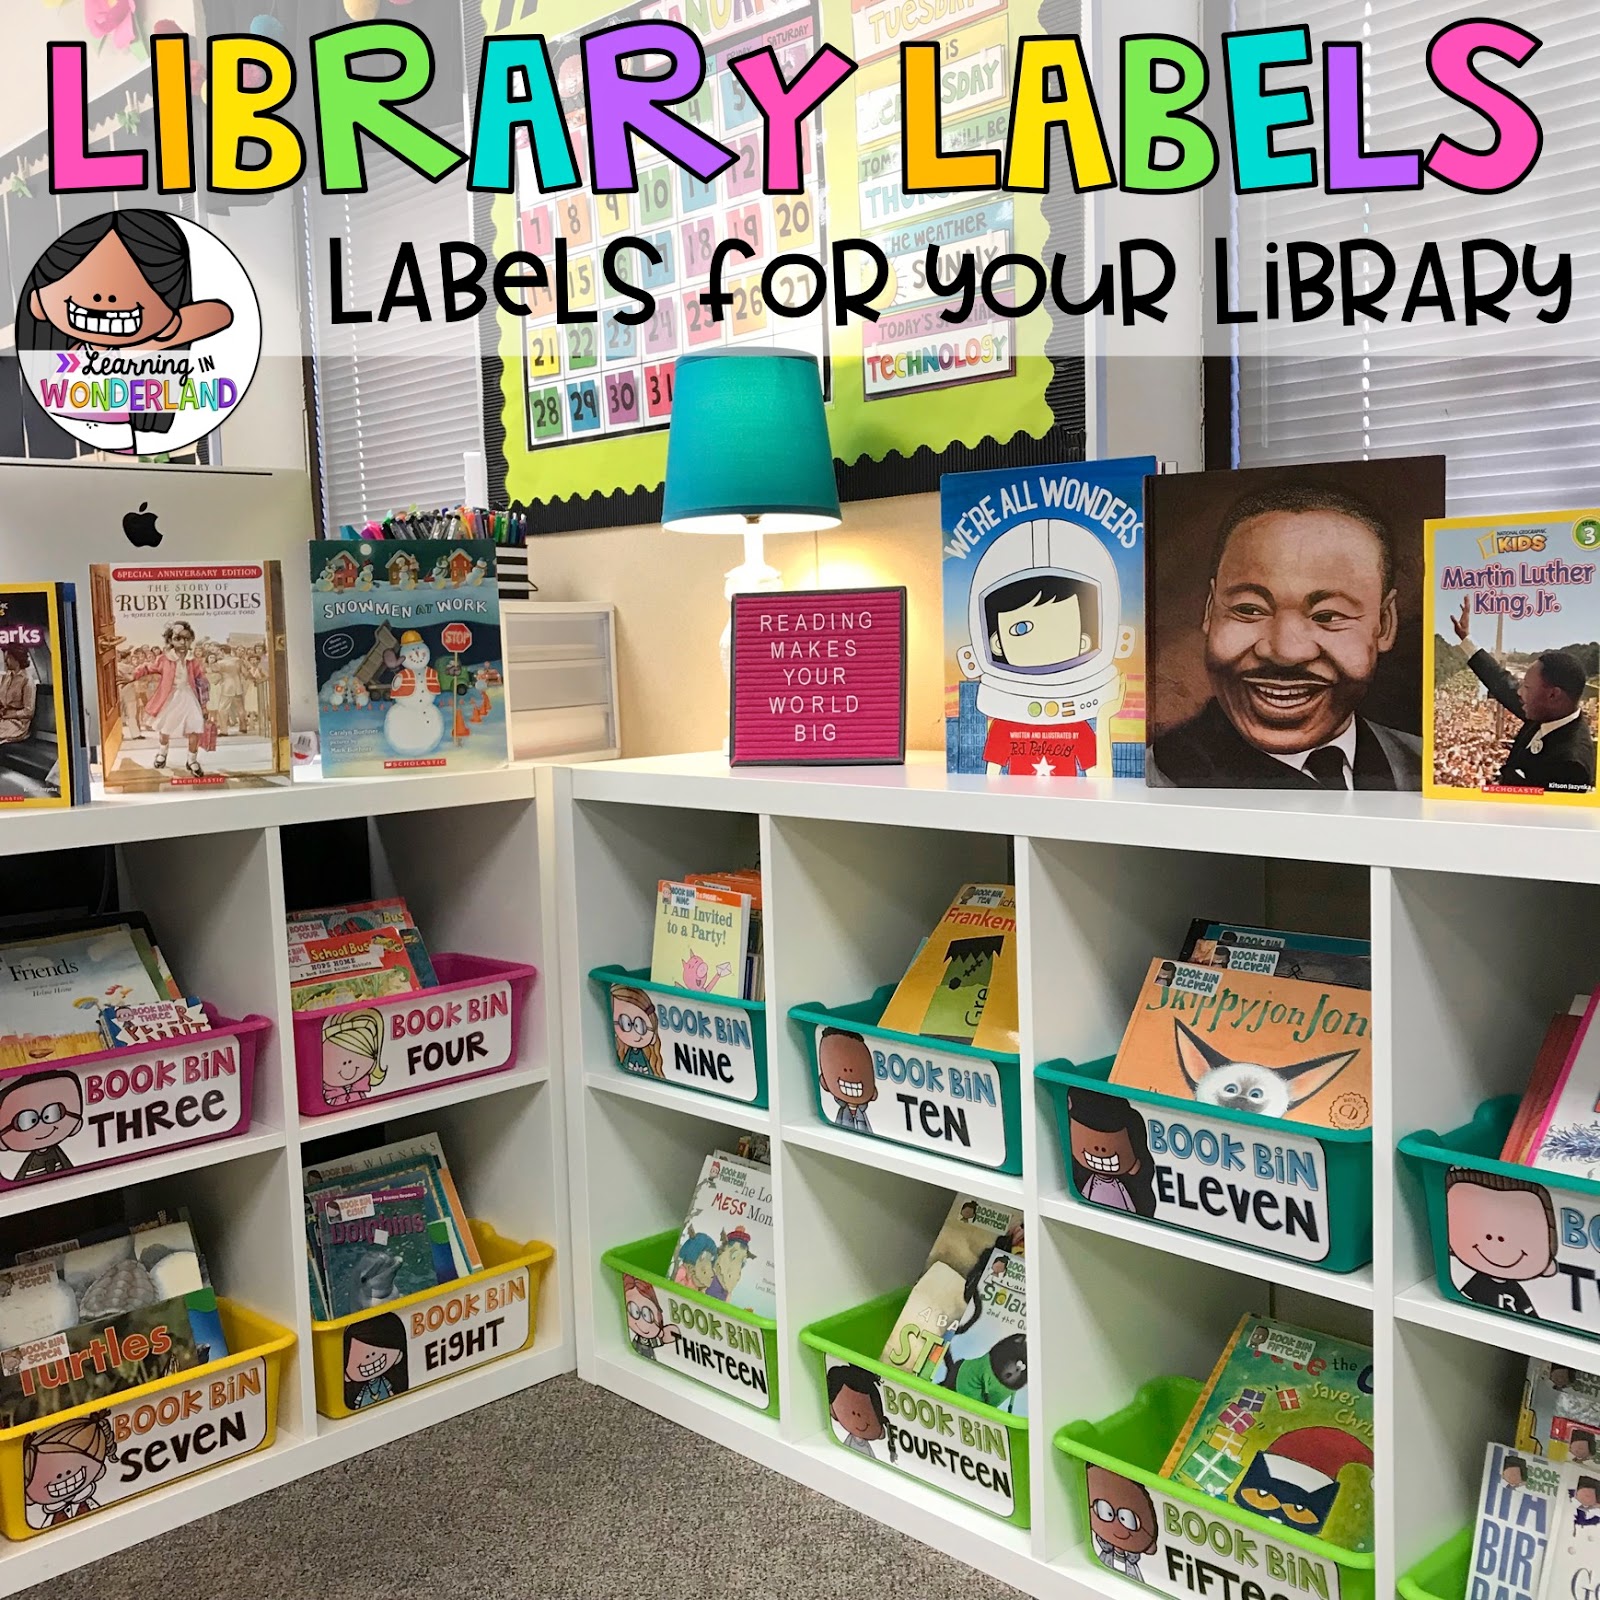
Is your library nice and organized? Or are you not sure how to get it working for you and your students? I just recently relabeled my library and it is working like a dream!
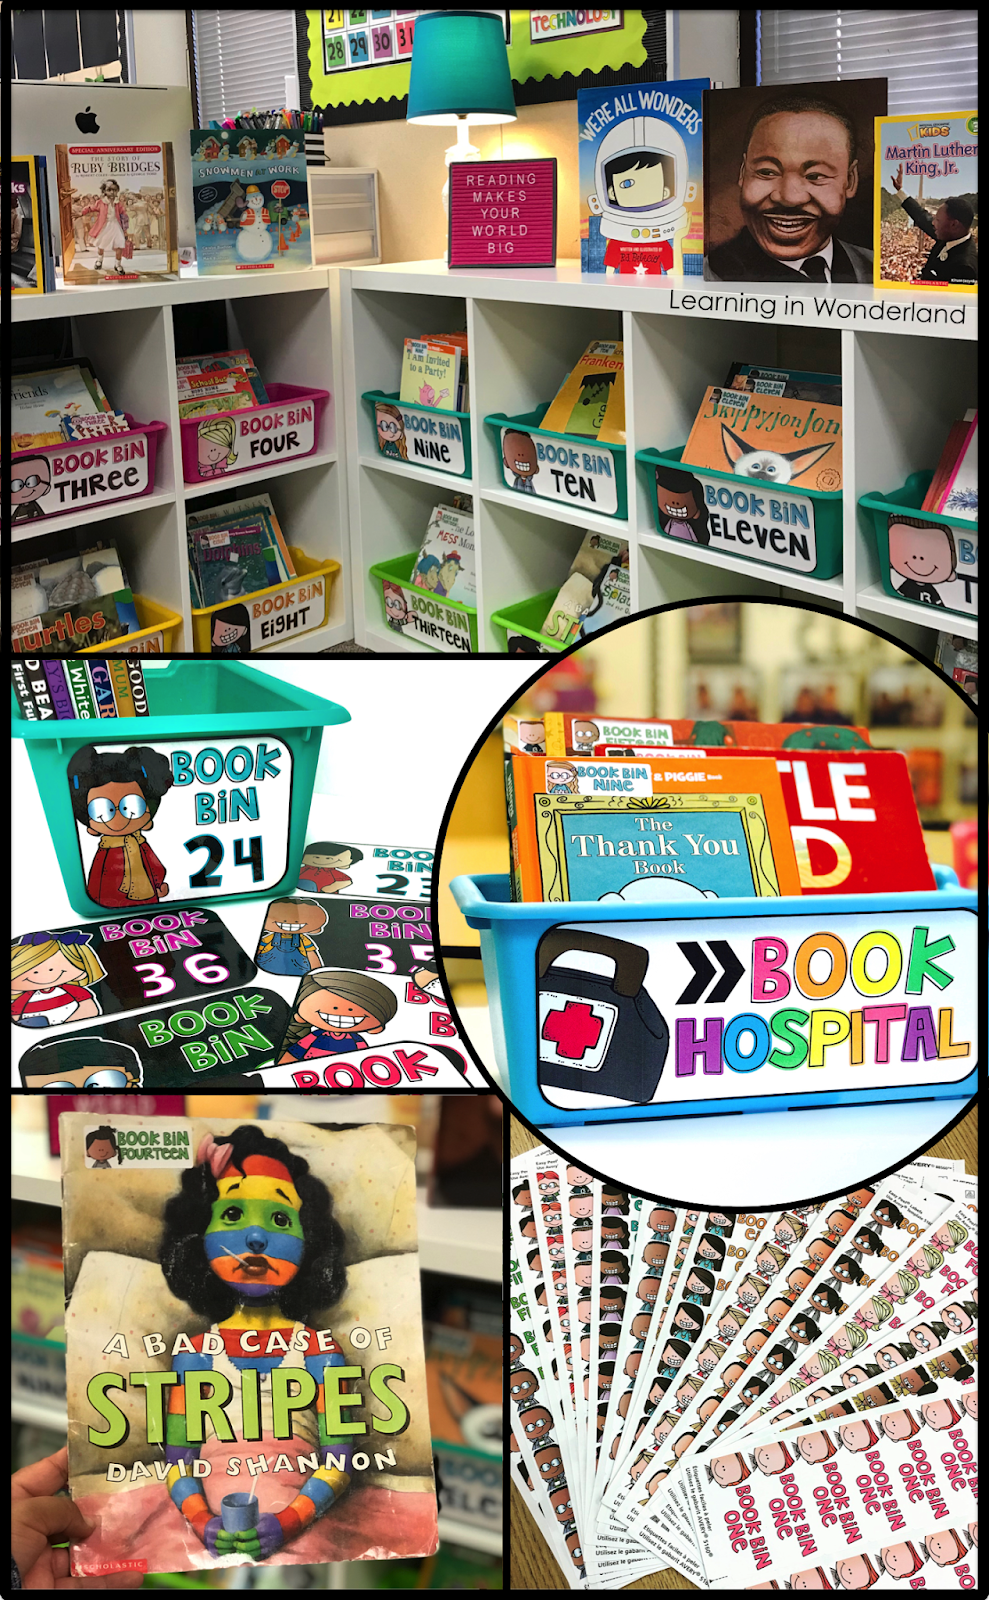
I posted this picture below on Instagram and I received lots of questions and requests for my library labels. This post will cover all those questions for you.

I created all of the labels above to make it easier to organize my library and for my kids to return the books to their rightful place.
When I began teaching, I just stuck all my books on a shelf with nothing to contain them. What resulted was a huge mess! The books would spill out onto the floor and it was impossible to keep them neat and organized. The worst thing about this was that my kids could never find the books they were searching for (#teacherfail).
This prompted me to get some bins. I attempted to organize my books in different ways. I tried to sort the books by author, genre, theme, alphabetical order, etc. Nothing worked for us! I’d end up with tons of bins and some had almost no books while others had 50 books spilling out of them. I knew I had to find something different. Something easier for me and for the kids.
I then decided to group my library based on the books I had.
The beauty of this system is that it can work in various ways. Want to level all or some of the books? Put a group of levels in a bin and you’re done! Want to sort by author? Just put those author’s books in one bin. All the kids need to know in order to keep your library tidy is the bin number. I’m all about keeping it easy and simple! Once I had this system down, I labeled my books with small dot stickers. This worked well for us, but the numbers were hard to read (they were handwritten) and desperately needed an update so I got to work!
Let’s dive into our class library so you can see how everything works!
Shelves
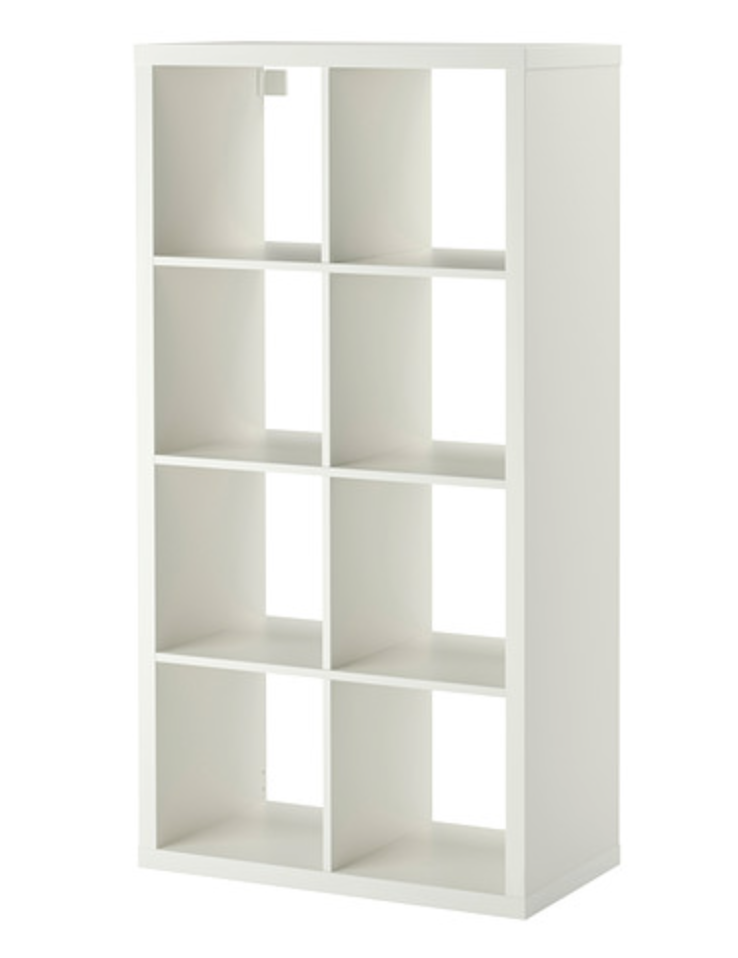

I set up a small reading bench area under my smart board and I went with a Kallax shelf for this too. One question that keeps popping up is if the shelf is sturdy enough to hold an adult. YES, it totally is! I am not a small person and I sit on it all the time when I read to my class.
The cushion was made at home with the help of @easyteachingtools. She put together a tutorial on how to make one on her blog. I’m linking Kristen’s tutorial
HERE.
Bins
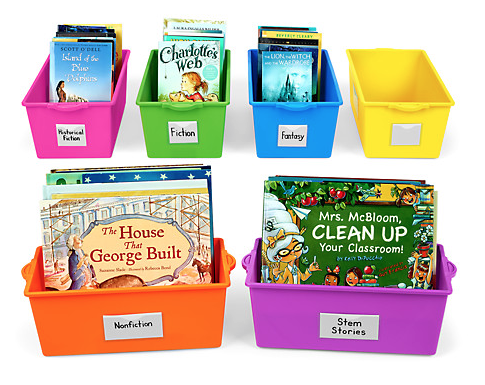
My book bins came from Target. When I put my library together, you could only find these in store. Guess what? They are now available through their website too!
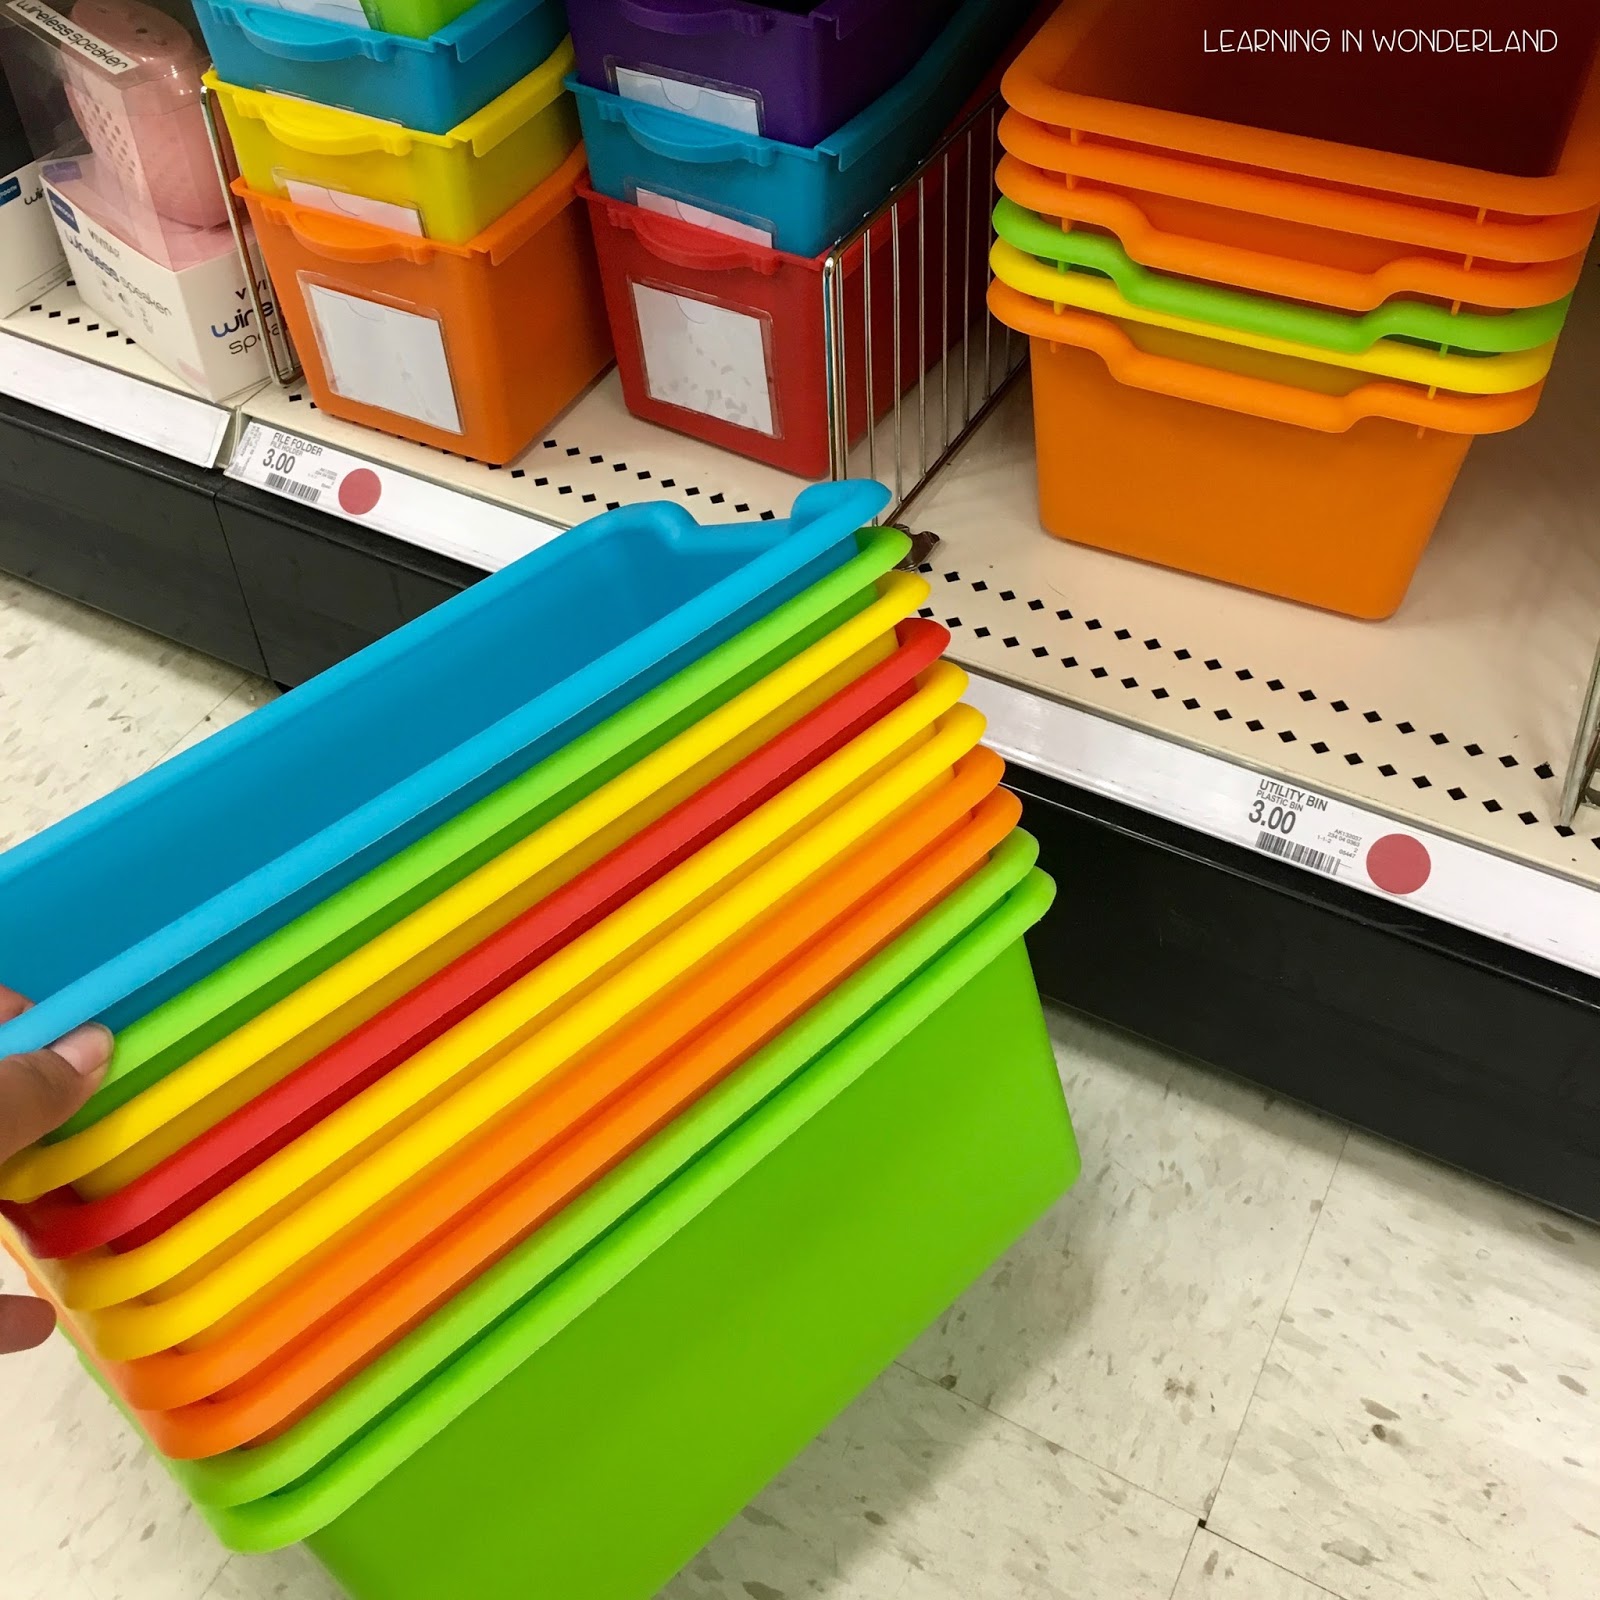
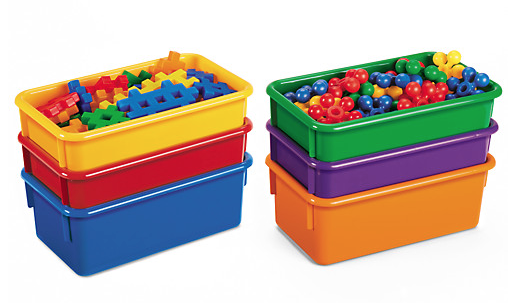
If you are looking for brights, these would work perfectly:
Labels

I printed up my labels in the colors I wanted. There are a variety of colors for you to choose from in this resource, plus an editable version. I designed them to fit Avery 8160 labels that print 30 to a page. You can get them from any store or on Amazon.
Sorting The Books
How you sort your books is completely up to you, but this is what I did.
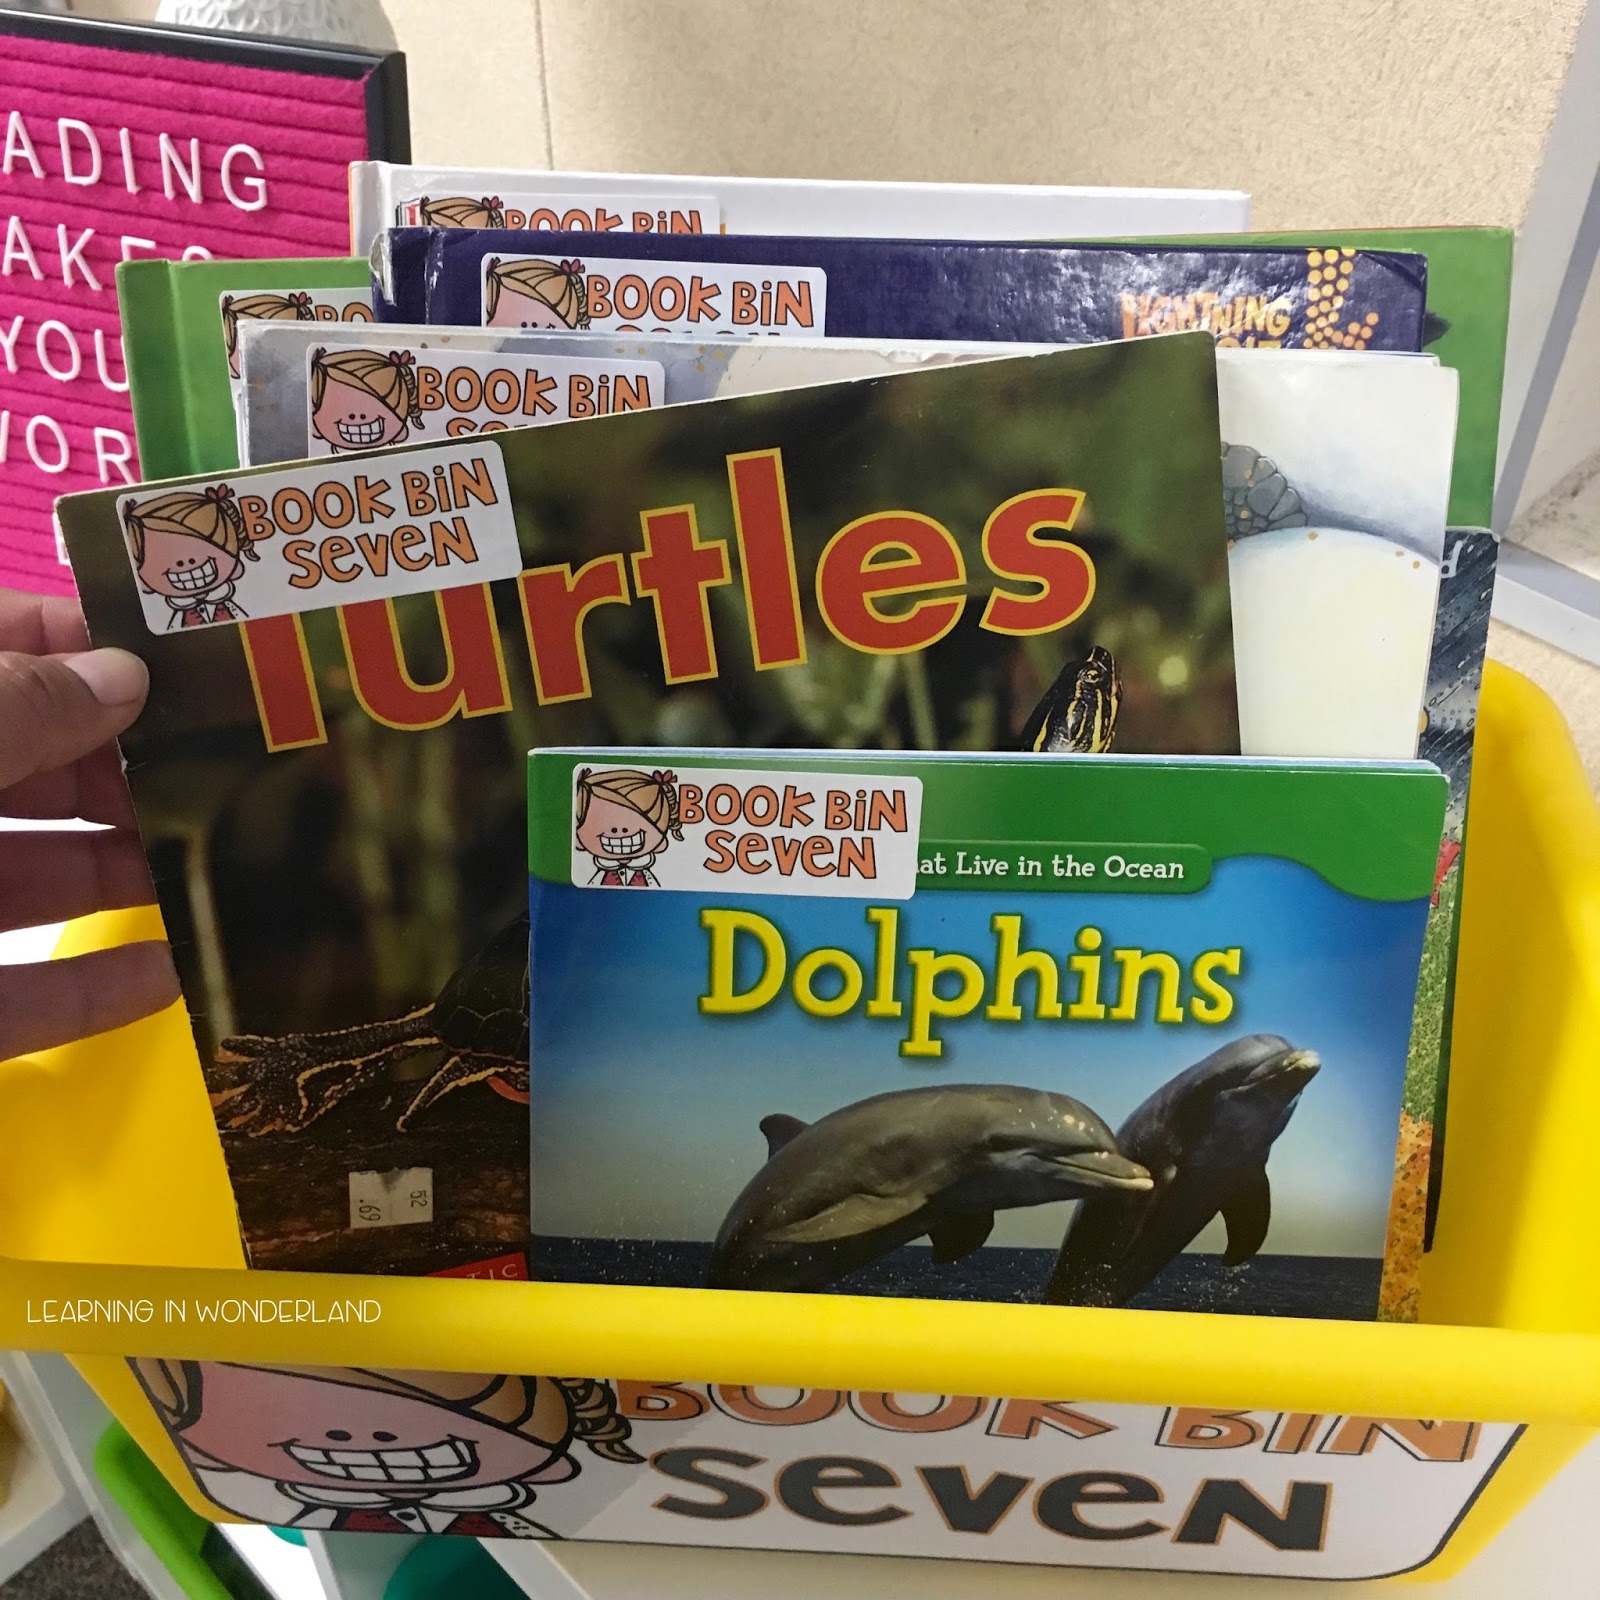
I happened to have lots and lots of non-fiction books. I filled up two bins and added coordinating book labels on each book. If at some point I need another non-fiction bin, I could just make the next one into a non-fiction one as well and move those other books into a different bin. Or I could just create a new bin altogether after number 16 (the last bin).
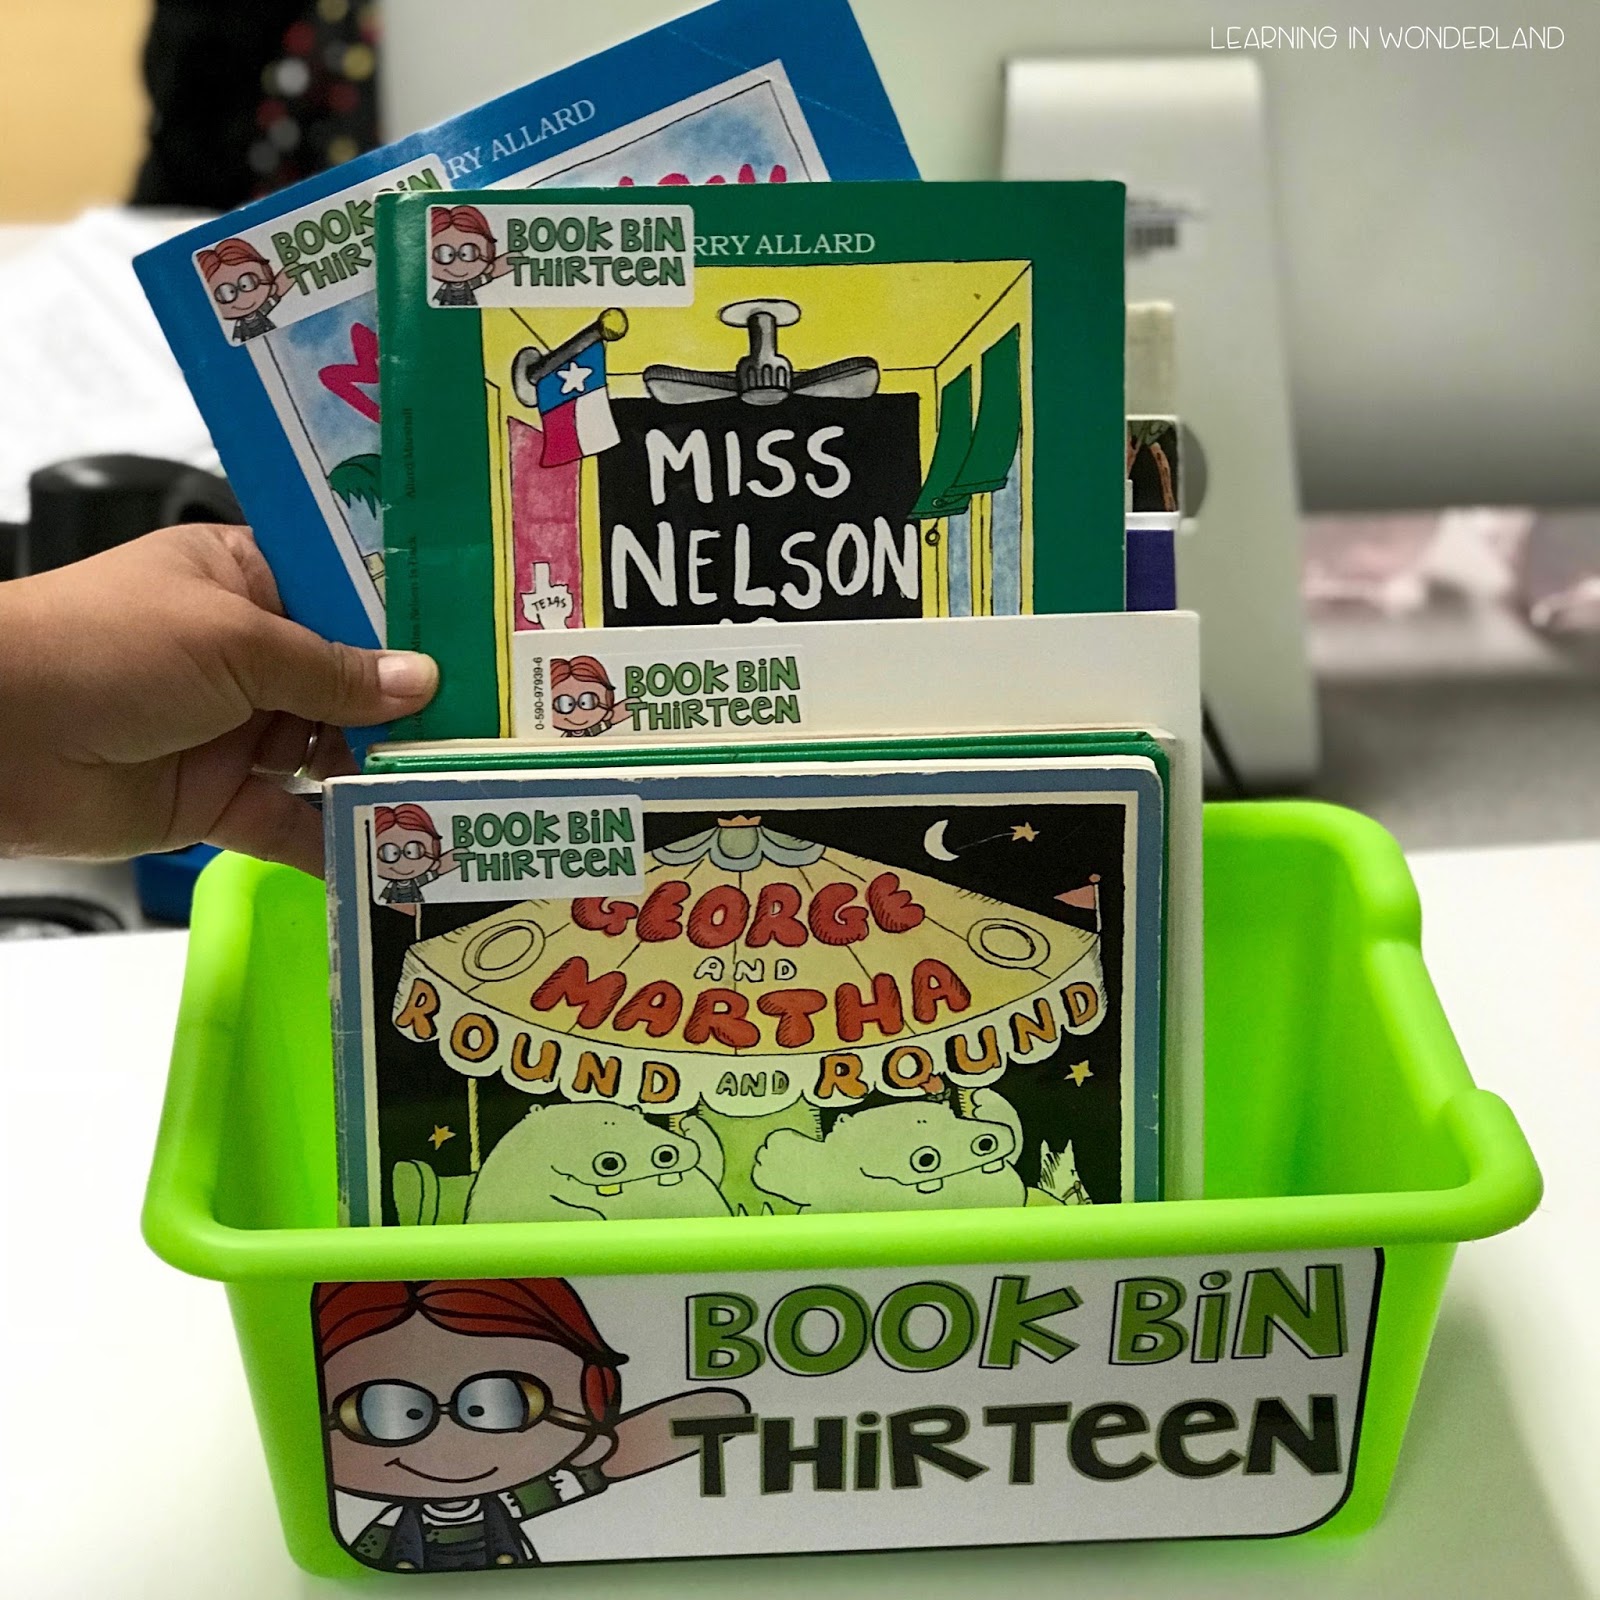
There are several bins that contain books from our Authors of the Month. I don’t have a ton for each author so instead of creating a bin for each of them, I put together a bin with three or four of these authors. In this particular bin I have books by James Marshall, Helen Lester, and Leo Lioni.
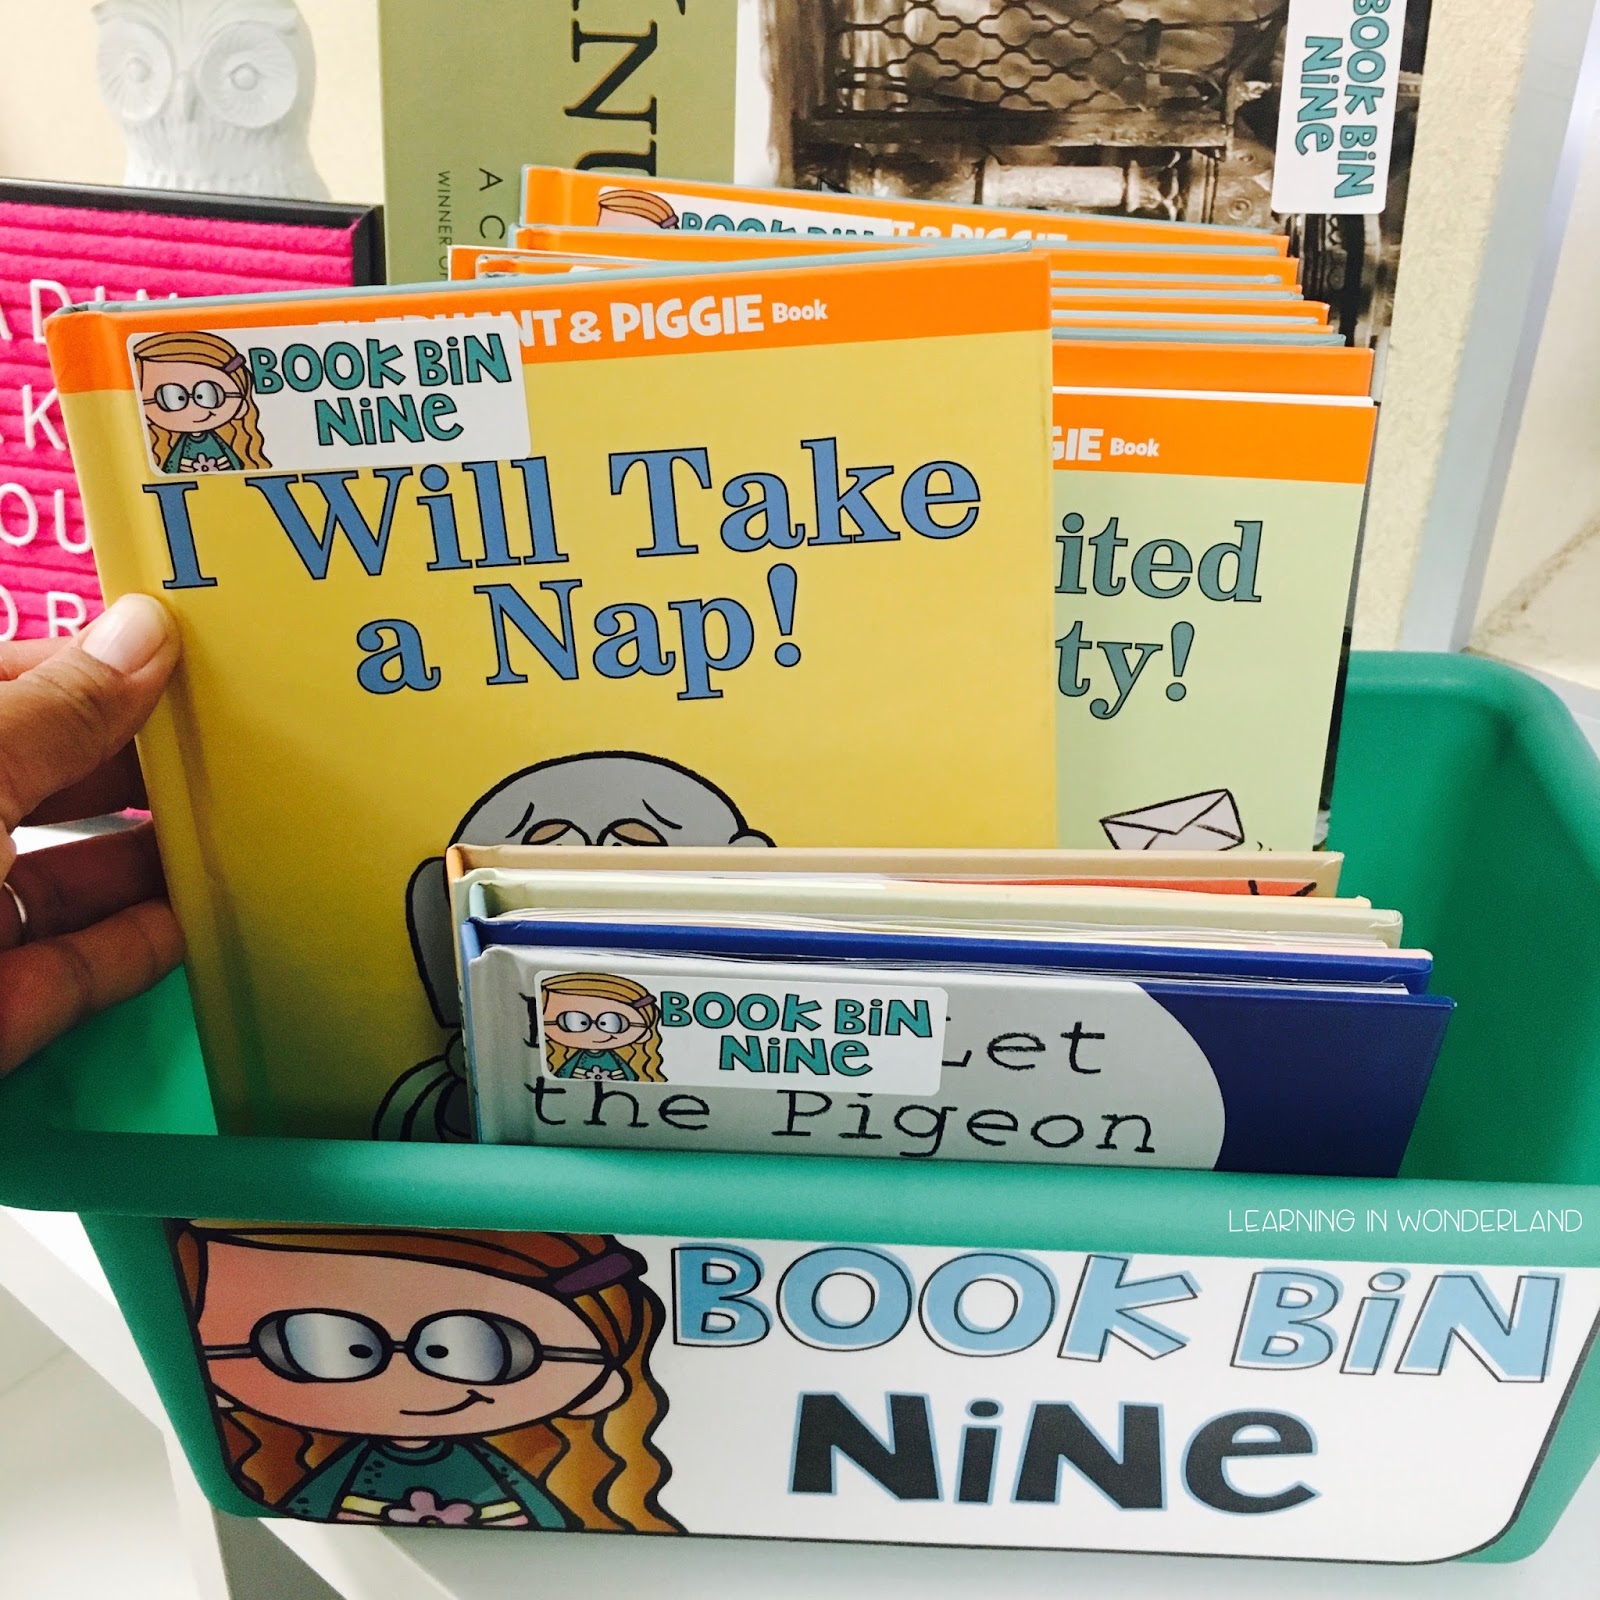
My kids are obsessed with Mo Willems. We have tons of his books and I will probably be adding more to the collection throughout the next few years. Mo had to have his own bin. Once I get so many that they don’t fit inside one bin, I can put together a second one for his books.
We have another bin where I placed some classics like Little Critter and Berenstain Bears books. Another bin for Spot, Clifford, Pete the Cat, and Splat. Then I have some random ones where the books didn’t seem to fit anywhere but I wanted to make sure they stayed in the bin I wanted them in for organization’s sake. As you can see, my system is SUPER flexible. They kids get the hang of it pretty quickly and the best thing of all is that it is SO EASY to maintain!
Maintenance

Maintaining your library is going to be pretty effortless. When the kids take a book, they don’t have to remember where they got it from. Their reminder is right on the cover. I decided to place the stickers on the upper left hand corner of the cover. The kids don’t have to search for the sticker, which means that putting the books away will be quick! If your kids can’t read yet (this happened to me with some kids when I taught first grade) they can use the colors and kid images to help them put the books away.
Something I love about the stickers being placed in this spot is that I can see right away if a book has been misplaced. It also helps my library helper to check the bins quickly to make sure all the books are in the right spot.
The sticker did cover up the titles on some of the books. If this bothers you, one of my genius friends suggested placing them on the corner on the back. Your library helper can just turn the bin over and check it real quick. I try to have my library helper check the bins once a week.
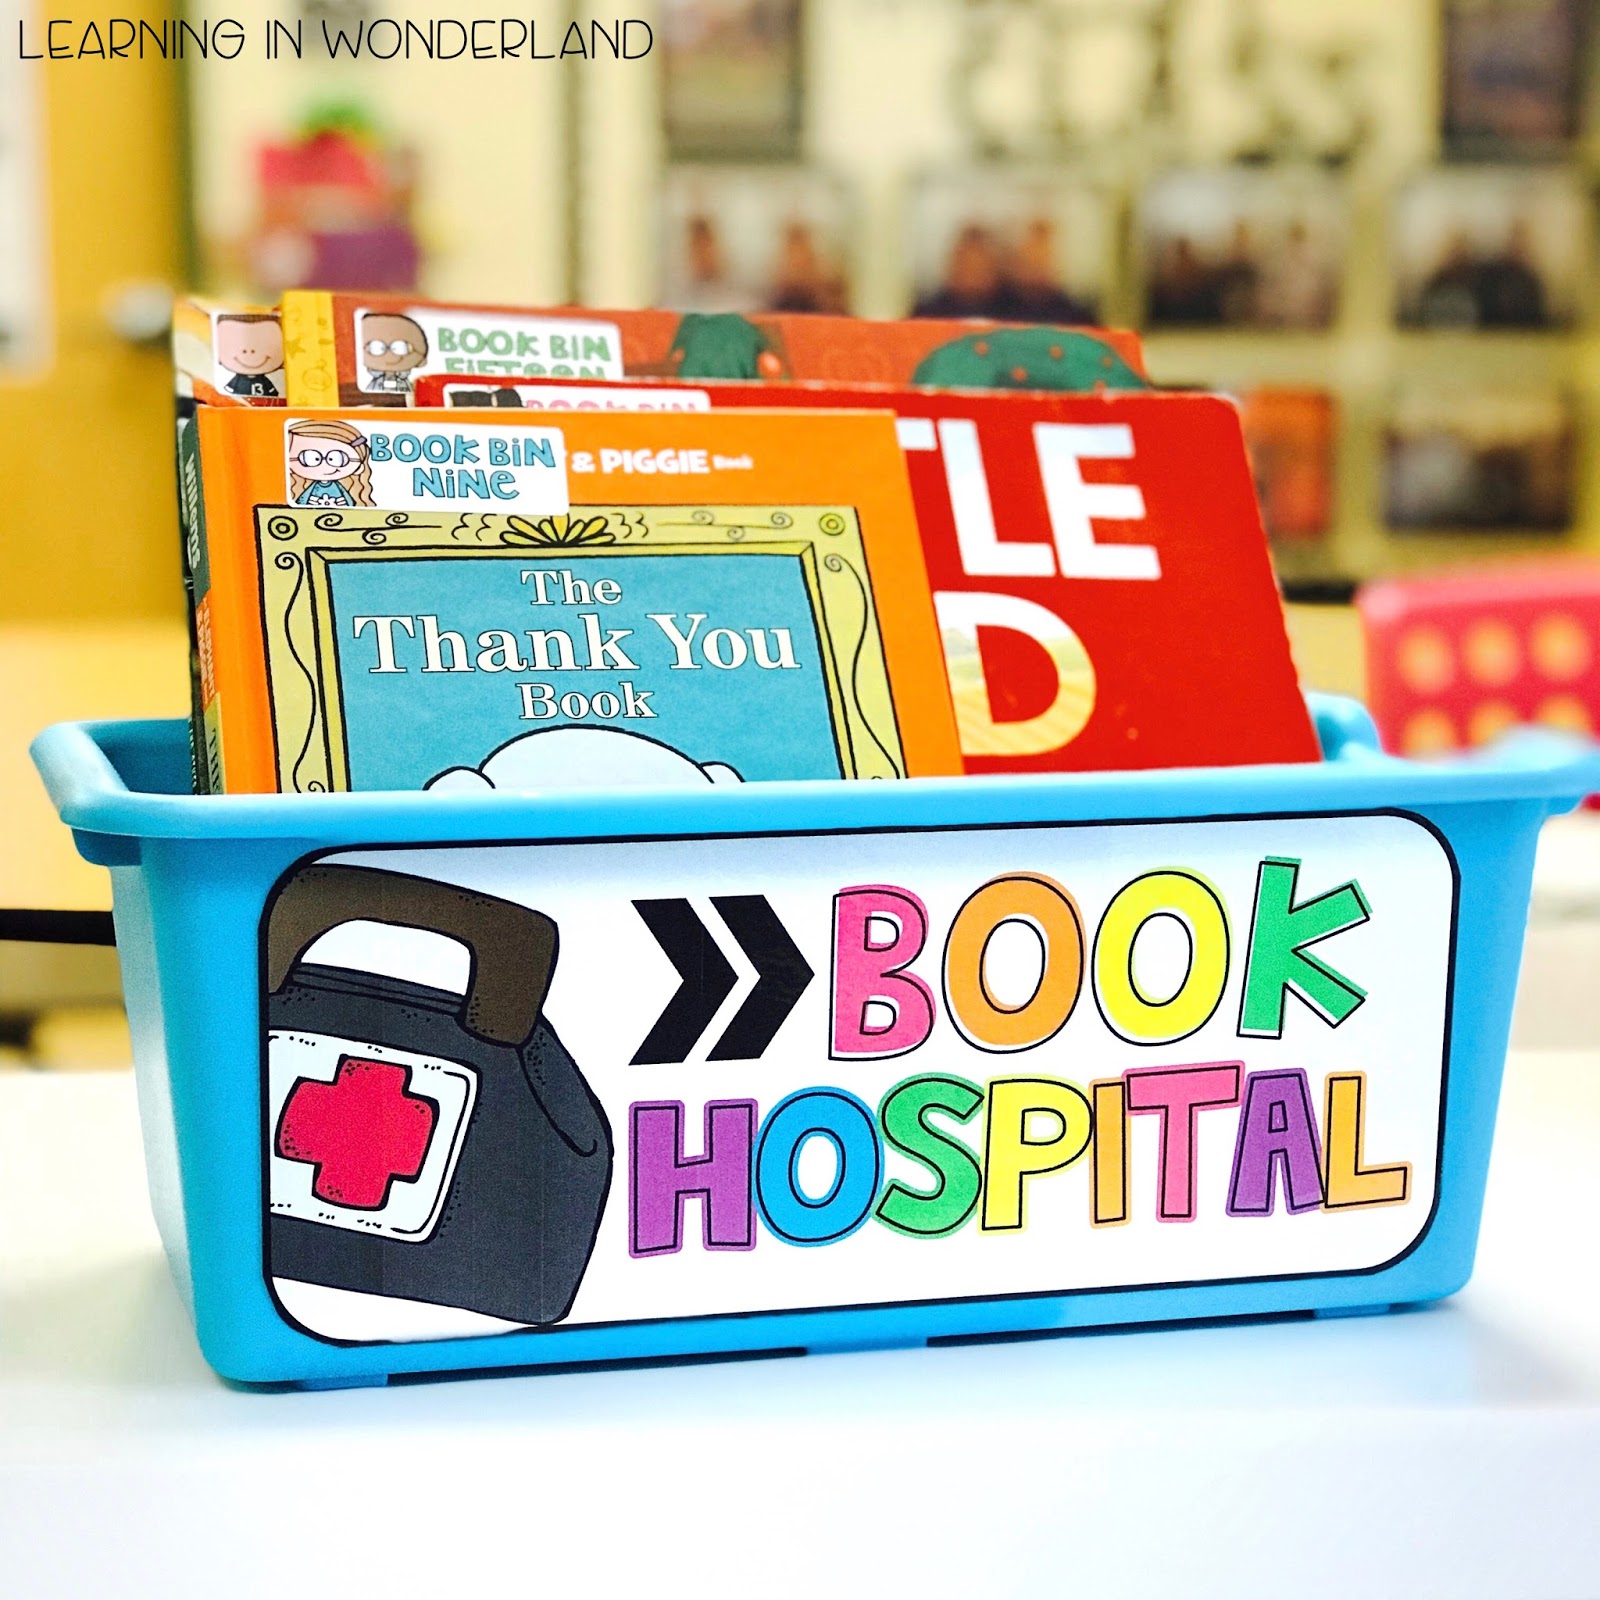
Book Hospital

I hope these tips helped you if you are planning a library overhaul! If you are interested in any of these resources, please click HERE or the picture below to check out my labels.
what other teachers are saying about this system:


