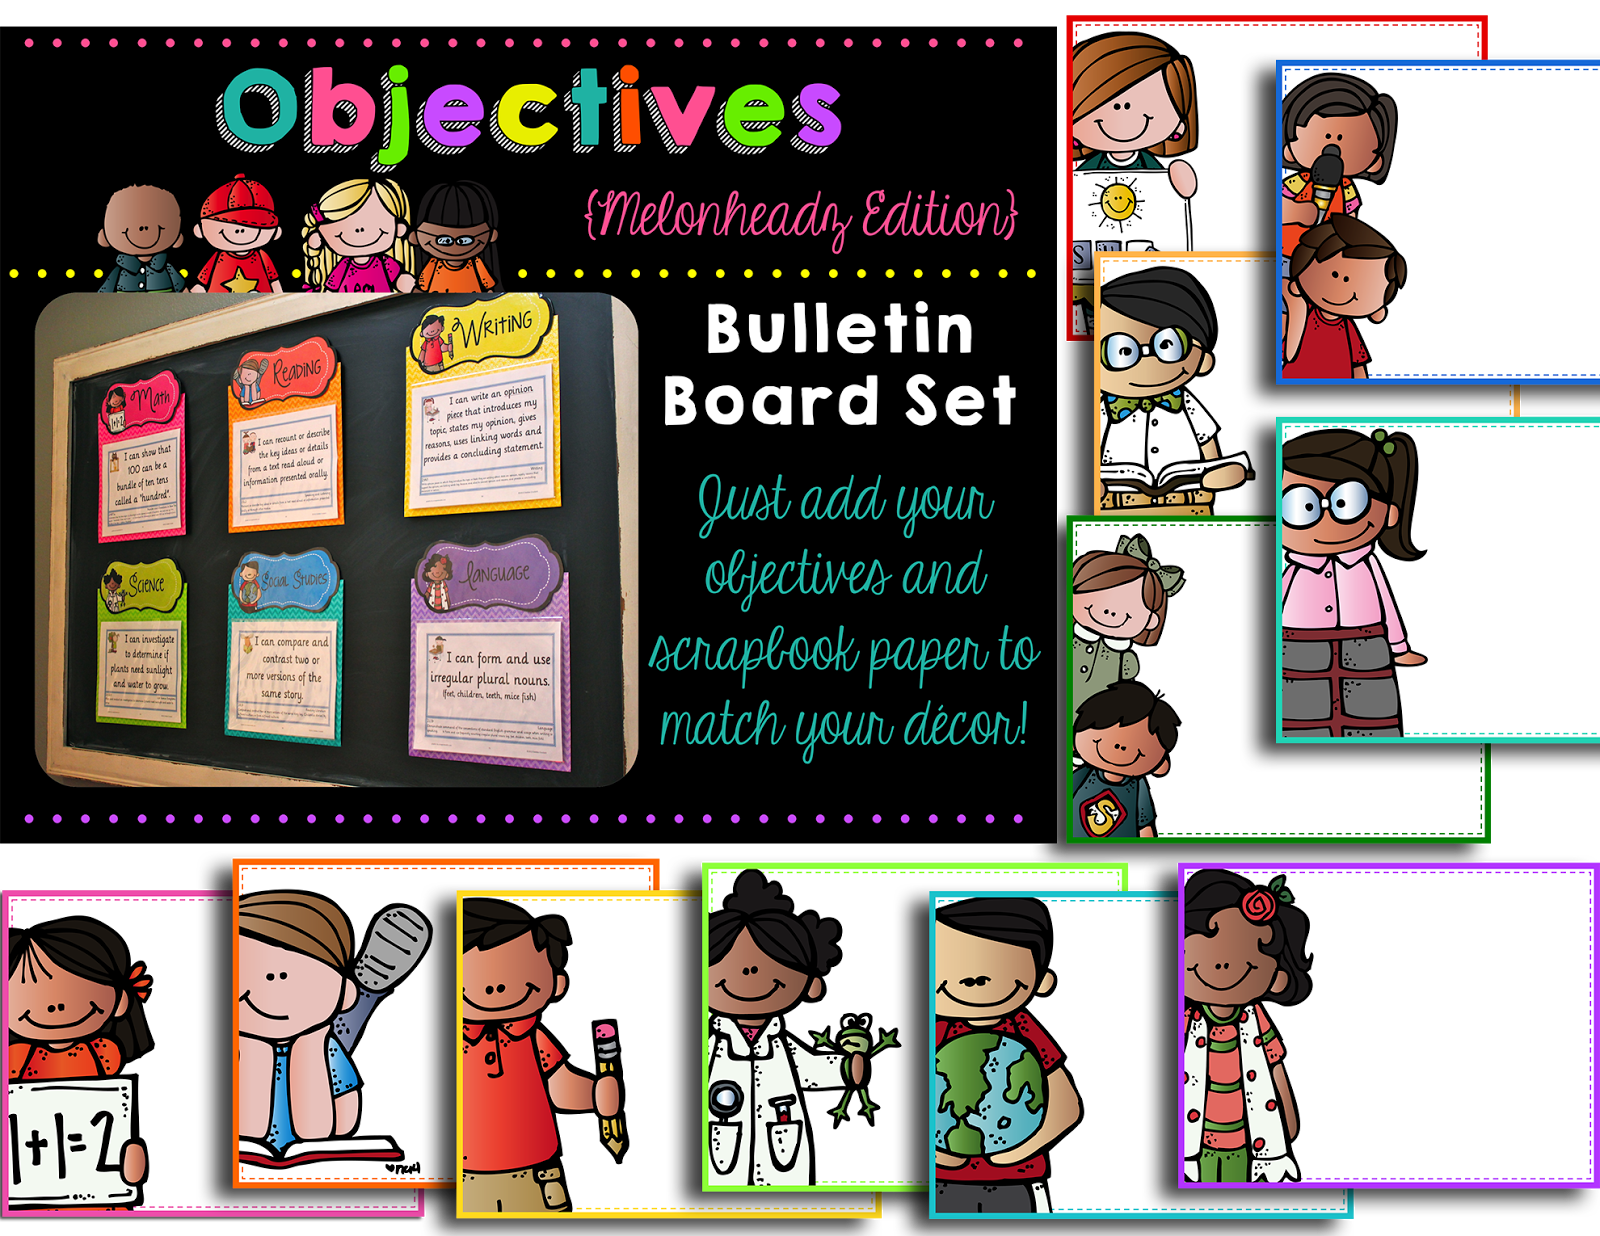
Are you required to post your objectives? I was looking for a way to make this easy to do and I found it!
A couple years ago I created an objectives bulletin board and it was ruined this summer during my move to my new classroom. My original display took about six hours to make with my Cricut. I decided to remake it this time with my new clip art that is perfect for this project!
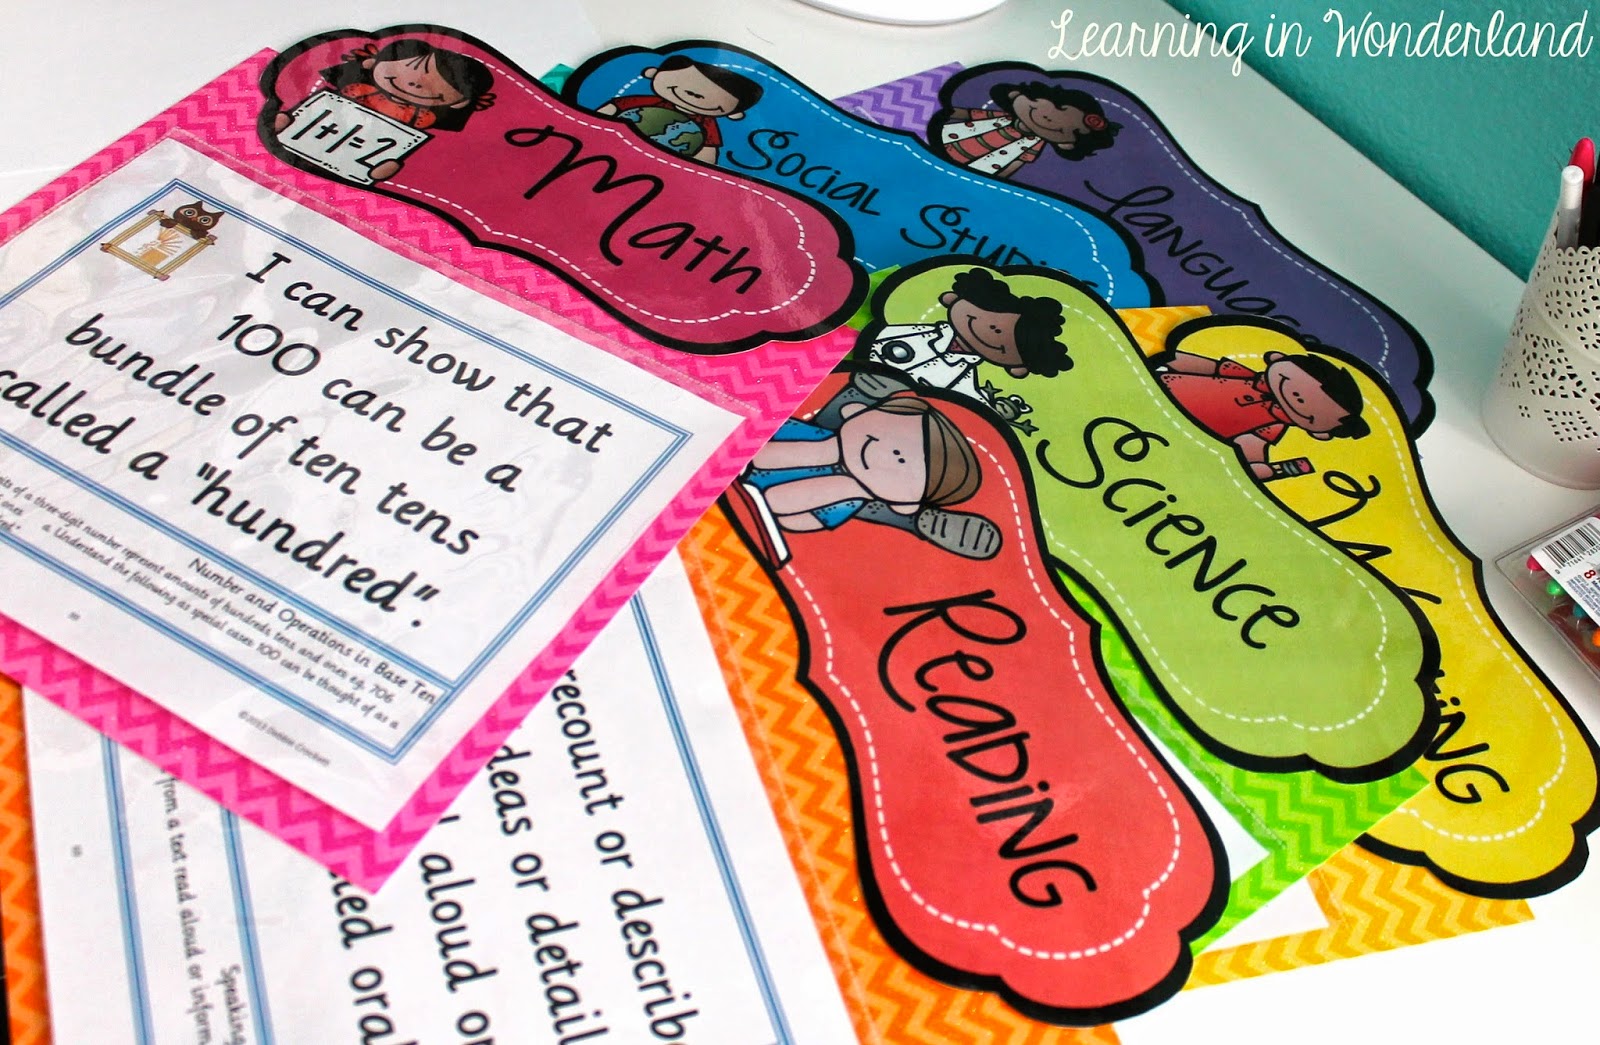
To
create this bulletin board, I cut out the headings and glued them onto
my scrapbook paper. I then laminated the whole sheet and adhered a
sheet protector where my objectives will be slipped in.
create this bulletin board, I cut out the headings and glued them onto
my scrapbook paper. I then laminated the whole sheet and adhered a
sheet protector where my objectives will be slipped in.
Doing this is much easier to do than writing them on the board every single day.
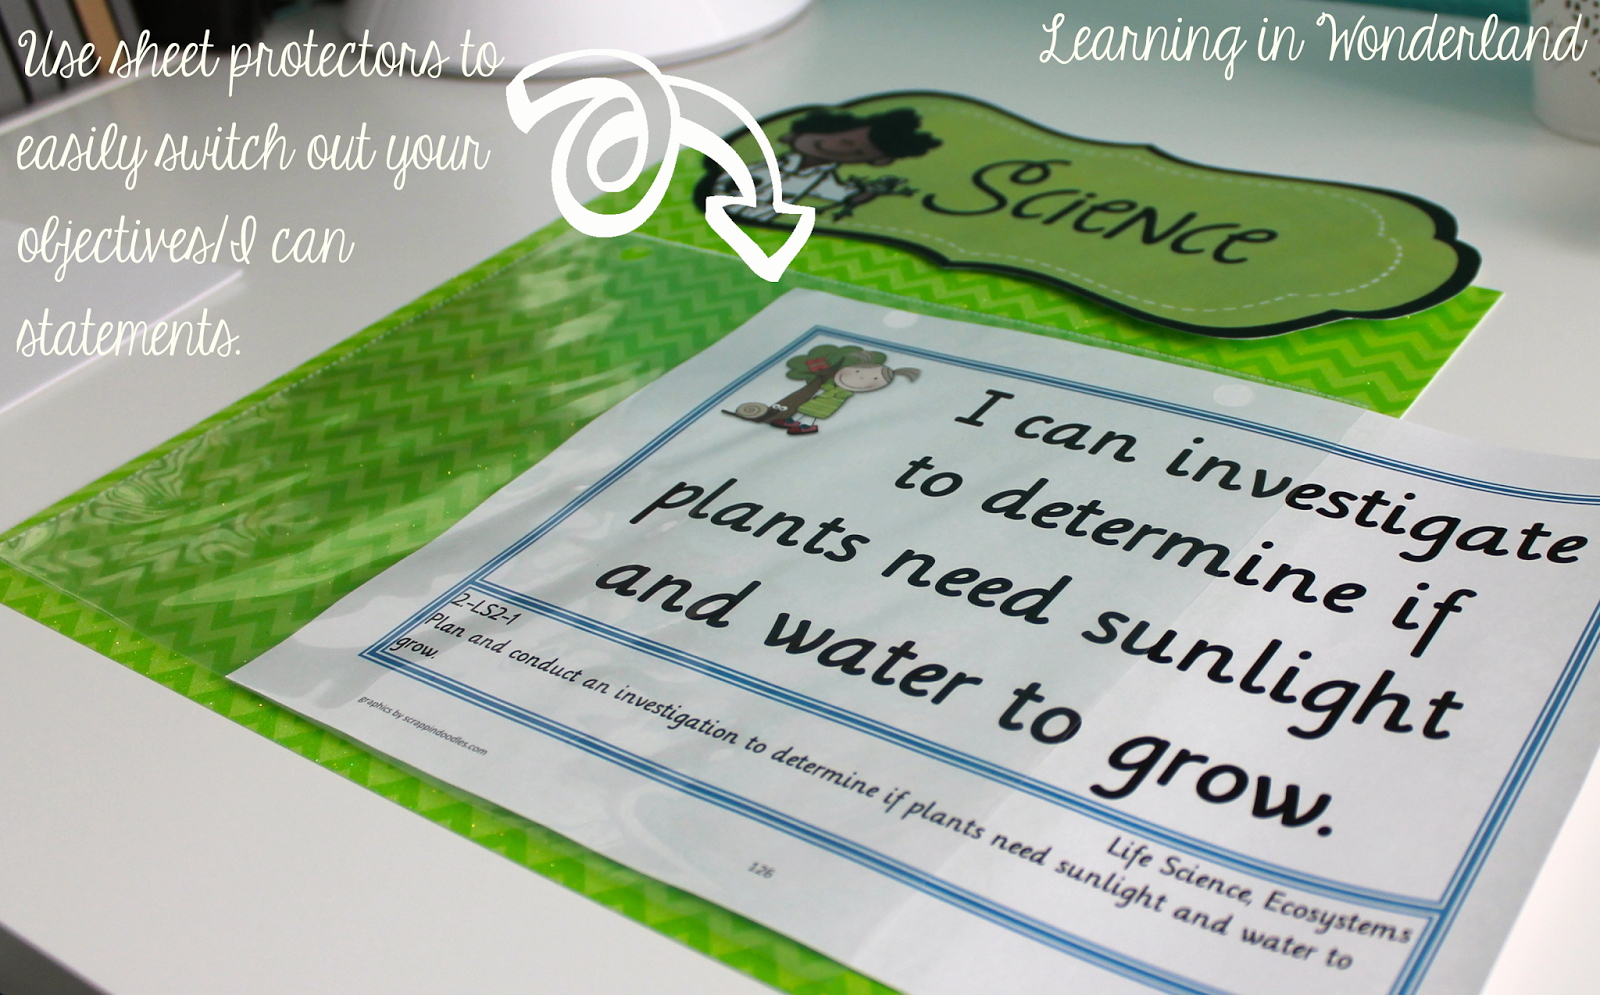
The beauty of the headers being separate is that they can be attached to any color scrapbook paper to fit any color scheme.
These
objectives were created by Debbie Crockett. I love them because they
include a student friendly version on top and the CCSS on the bottom for
me to reference to. You can find her sets HERE.
objectives were created by Debbie Crockett. I love them because they
include a student friendly version on top and the CCSS on the bottom for
me to reference to. You can find her sets HERE.
This is how they look all put together:
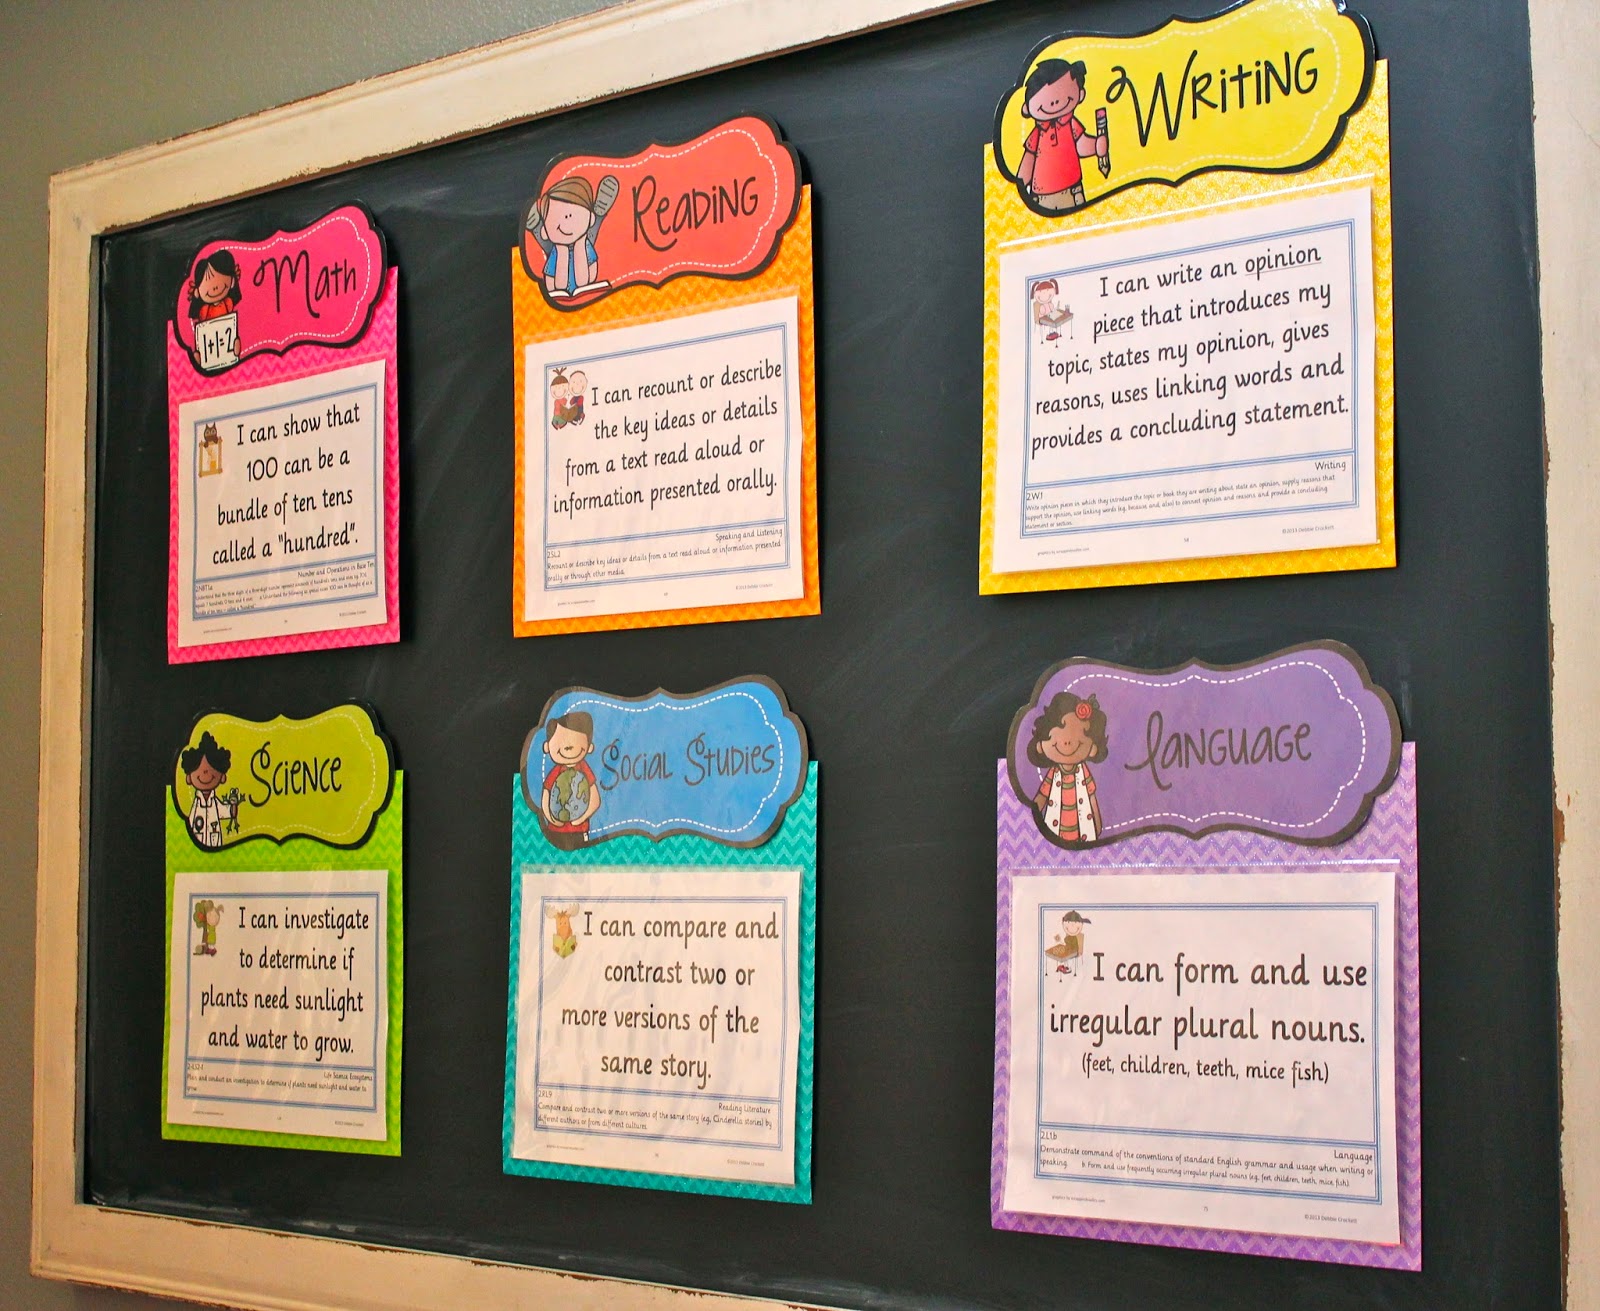
This year I decided to display them differently. Instead of backing them with scrapbook paper, I am hanging them up with some book rings. I go through the objectives I need for the week and I just flip through them to display the ones I need for the day. This makes everything so easy!
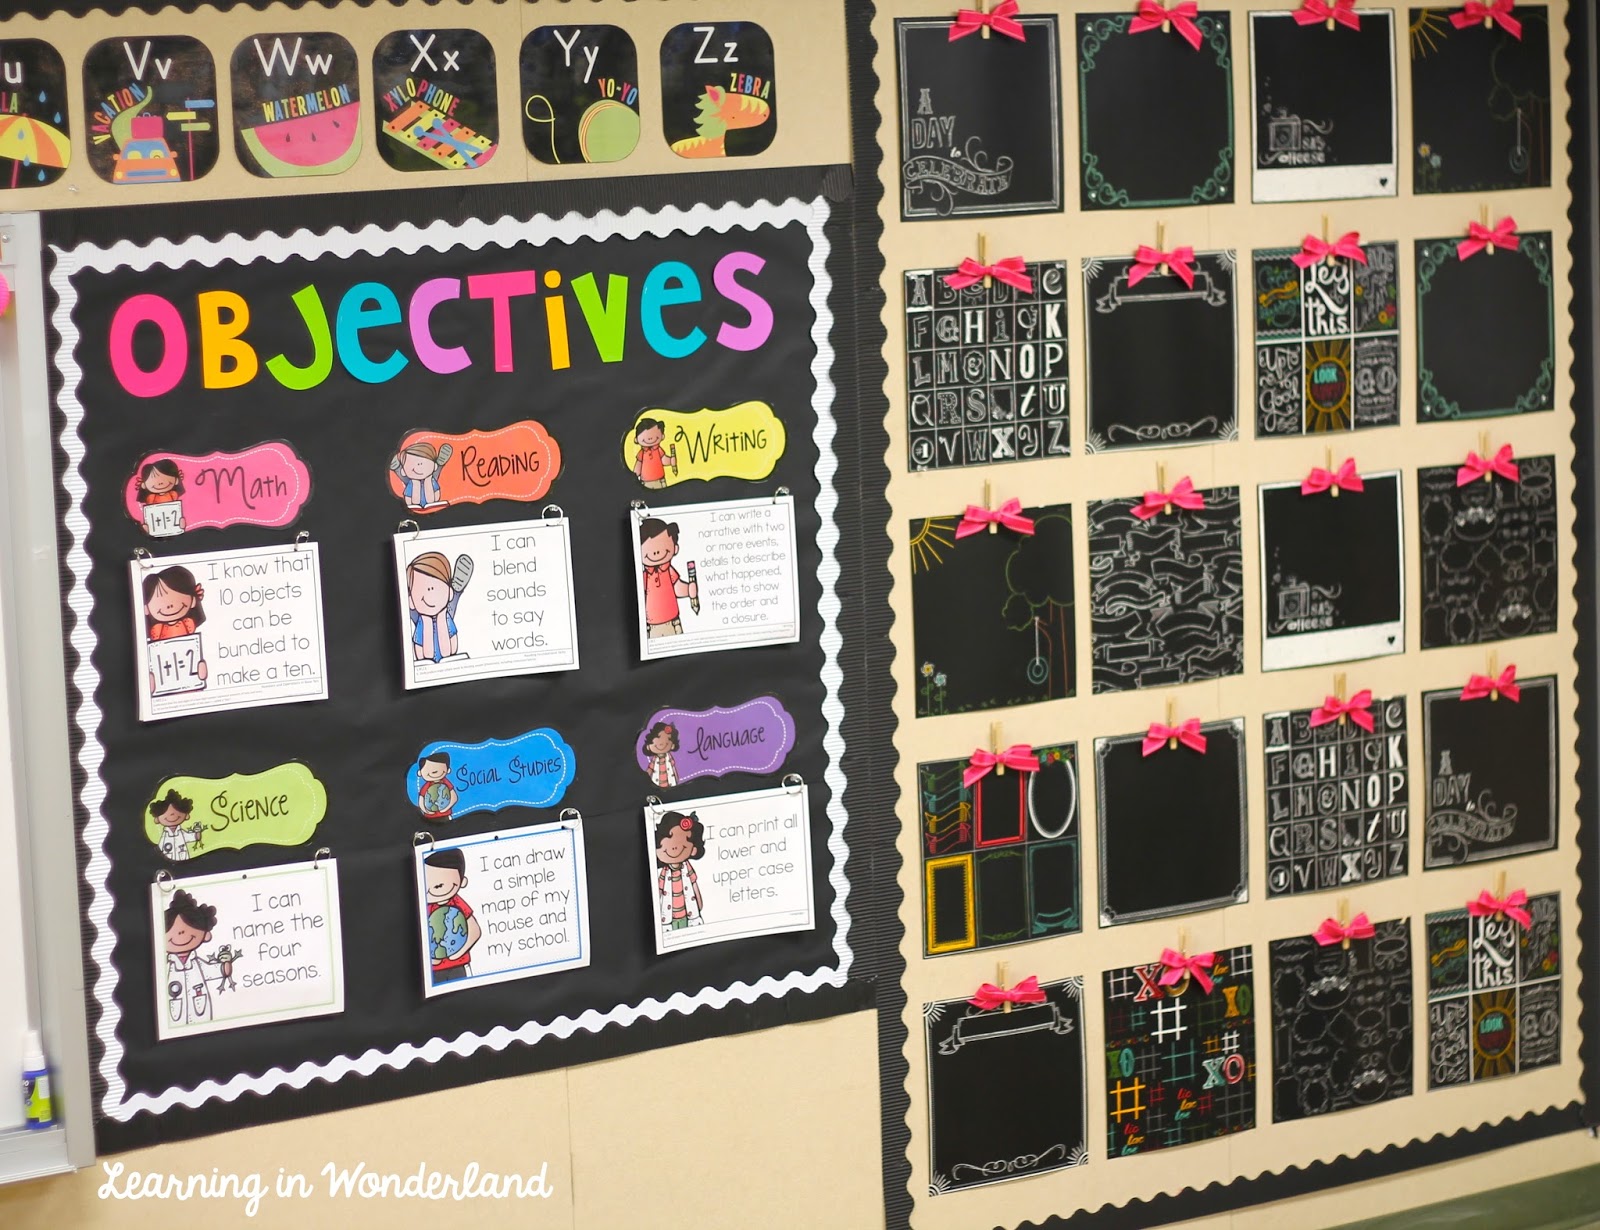
Here is a quick video of how easy this is to do:
I received several requests for the set, so it is now in my TpT shop. If you are interested in this set of headers and editable objectives posters, please click HERE.
