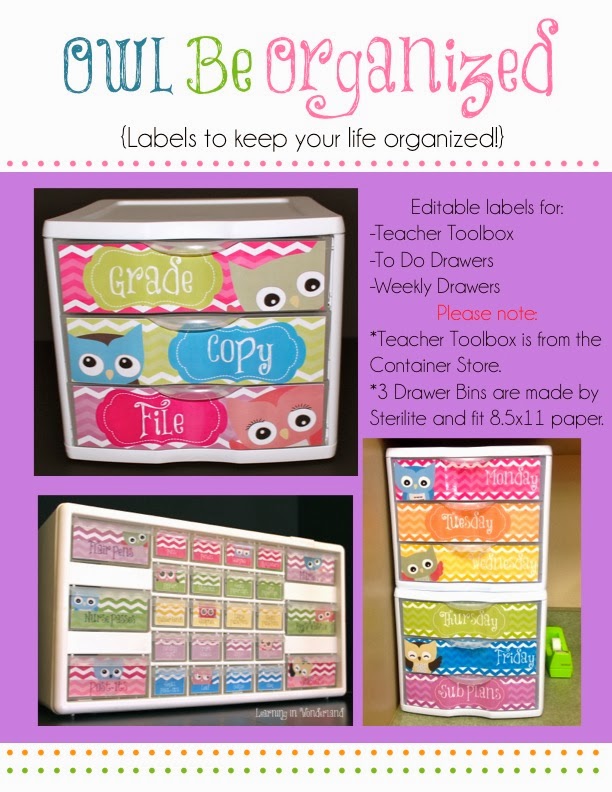
Have you made a teacher toolbox? If you haven’t, I urge you to do so because it will greatly improve your teacher life 🙂
I am not naturally organized. A few years ago my room was what I would now refer to as a disaster! I had stuff everywhere! Stacks of paper, manipulatives, books etc. where everywhere! My desk was no exception! Some people say that they can work in organized chaos, but let me tell you that I am not one of those people. I must have a place for everything or everything ends up all over my place!
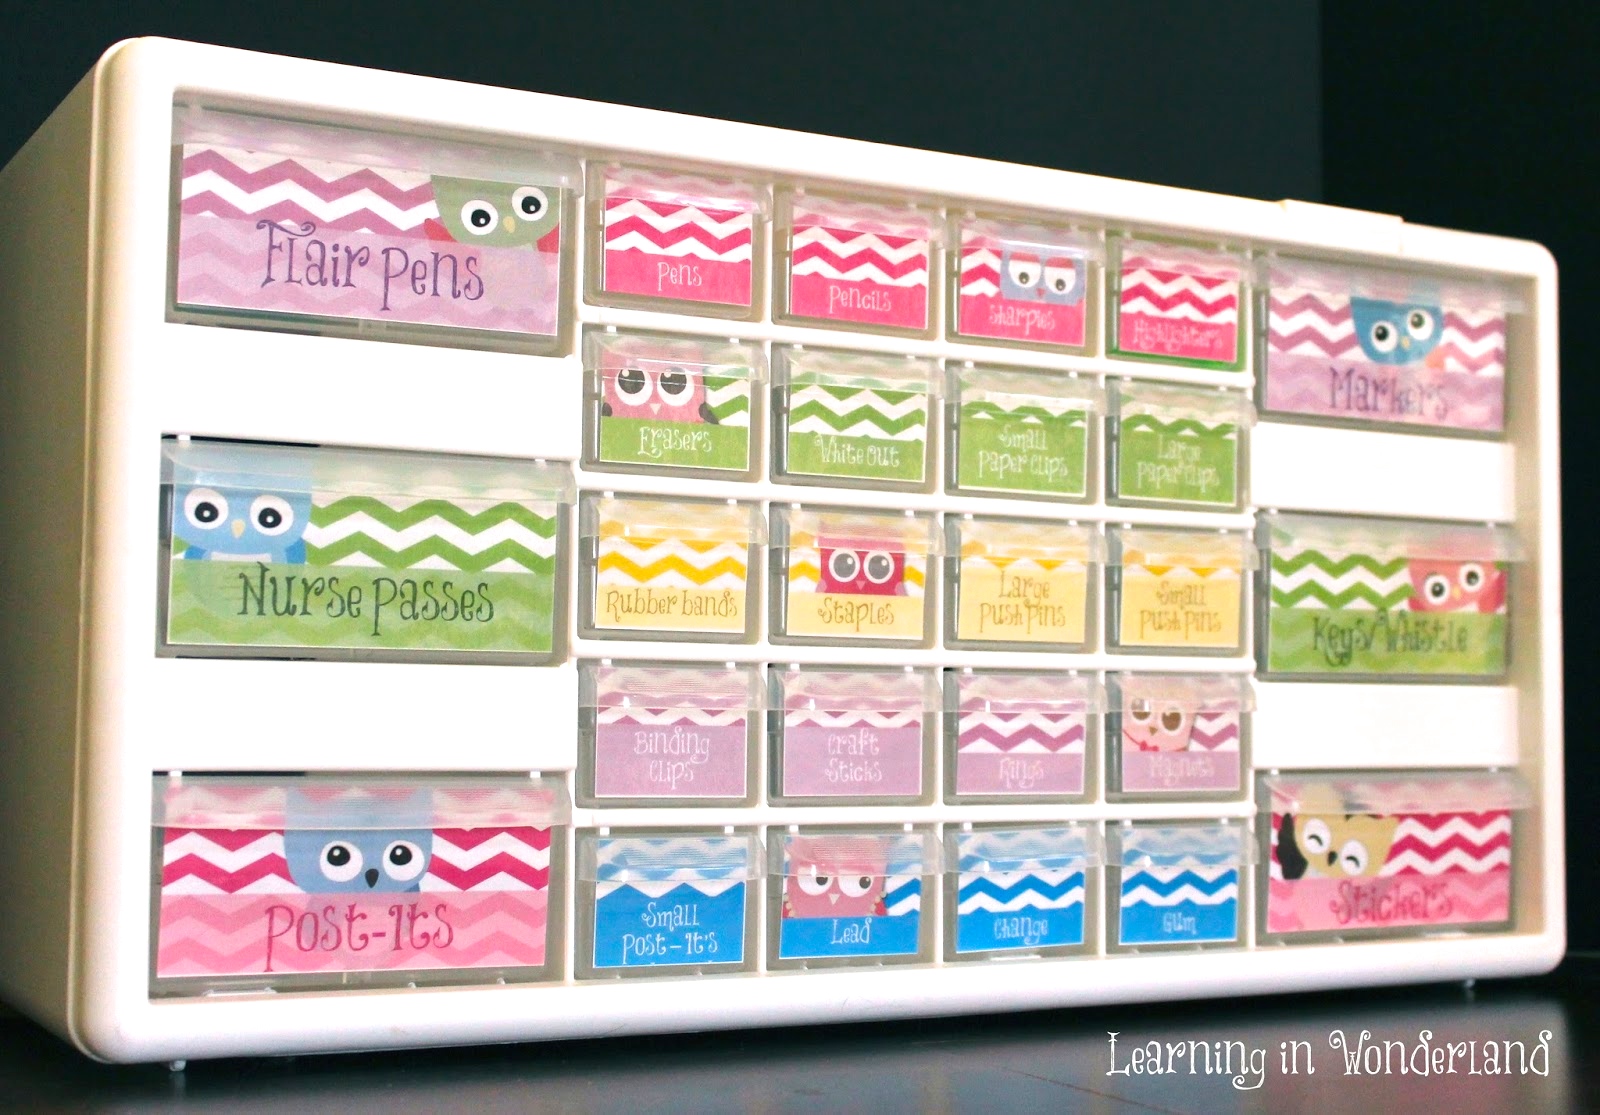
In an effort to tame one thing at a time, I decided to tackle my desk. Enter the teacher toolbox! This little thing has transformed me and set me on a path to organization. It feels wonderful to know where all these odds and ends are instead of having to dig through my desk. Not only does it help me in my organizational mission, it also looks great in my classroom!

How To Make Your Own Teacher Toolbox:
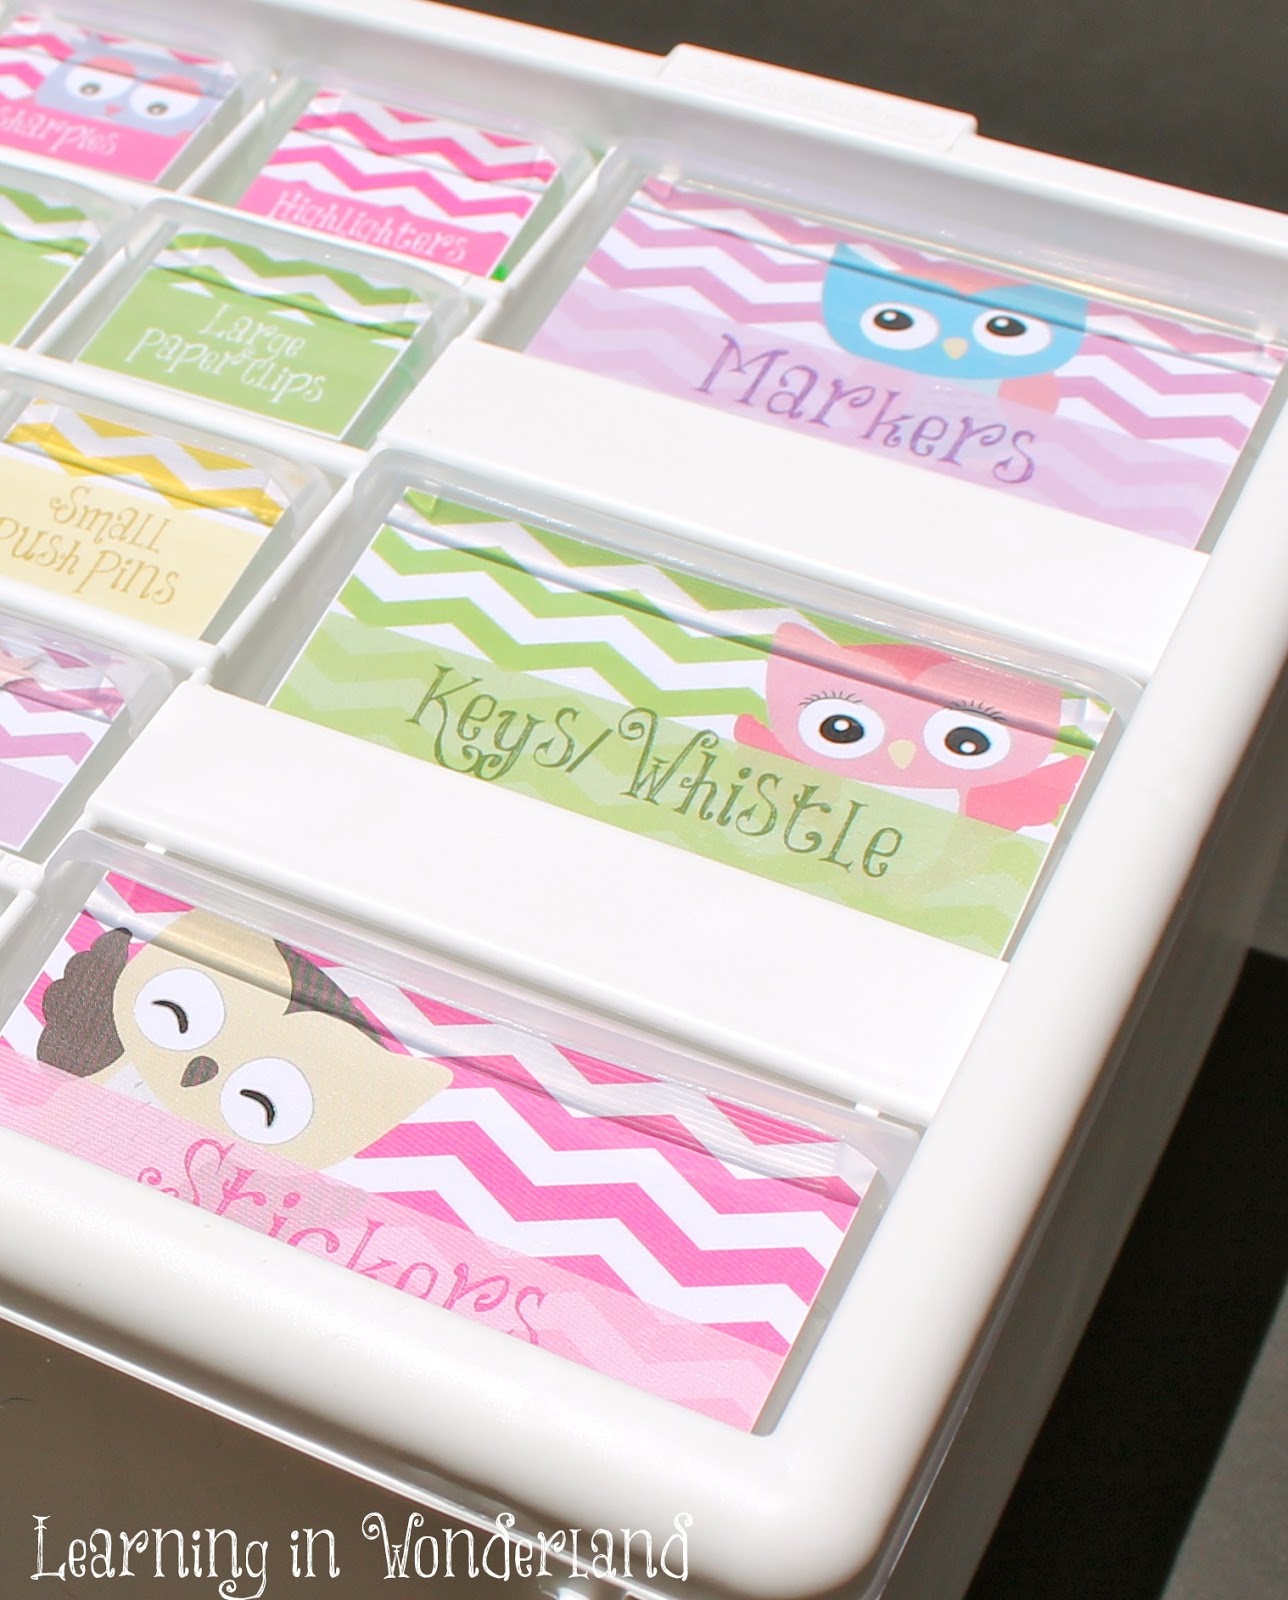
- The large drawers are 1.87 inches tall and 4.18 inches wide.
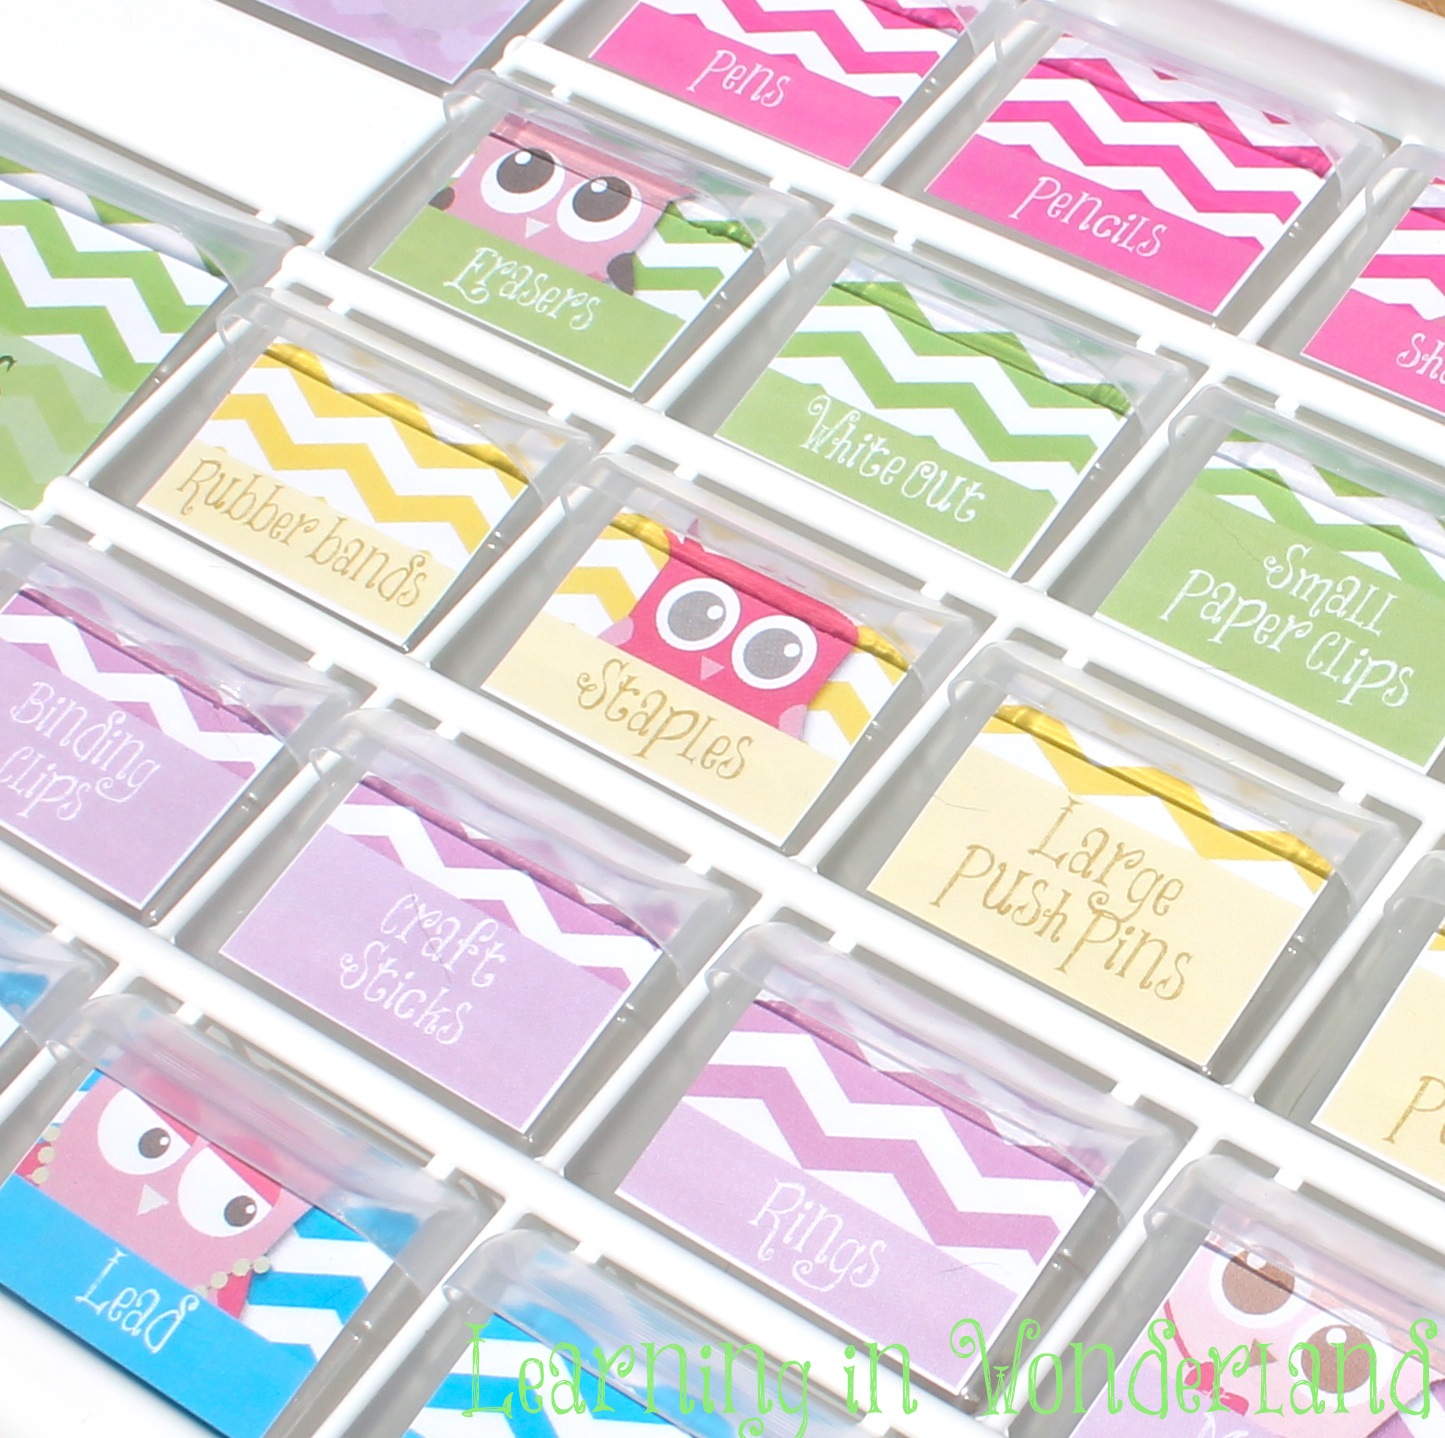
- The small drawers are 1.41 inches tall and 1.85 inches wide.
Use these dimensions to create your template.
Printing:
- When printing, select to print ACTUAL size. (If you print them on “shrink” or “fit to page” the images are going to be much smaller and won’t fit correctly on your drawers.)
- Print on regular copy paper.
Assembling
- Use a trimmer for nice straight lines.
- Laminate your labels.
- Attach them to the outside of your drawers using a glue gun, tape, or other type of adhesive. I used a glue runner which is kind of like double sided tape. Tape and glue runners are forgiving and will be easy to remove if you don’t like the placement or want to remake your box later on.
I wish I had known this stuff BEFORE I started mine.
If you are interested in my designs, you can pick up these owl labels here: