Edit: This blog post was originally posted in March. I broke my foot and haven’t been able to go in this summer to set it back up again, but I found an opportunity to share what my classroom looked like, and will look like again this coming fall.
I love looking at other teacher’s classrooms! You can link up your pictures with Learning With Mrs. Parker for the “There’s No Place Like Home” linky party.
I wanted to give a little tour of my classroom. I’ve spent a lot of time getting it the way I wanted. There is still a lot to be done, but I am pleased with most areas in my room.
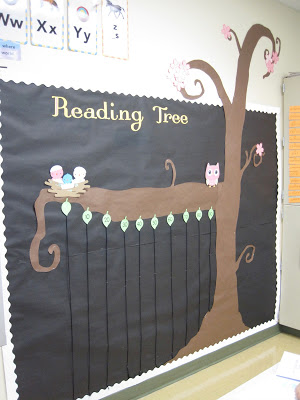
This is my fluency reading tree. I LOVE cherry blossoms. Since they don’t grow around Arizon too often, I decided to make this tree into a cherry blossom tree. The template was created by my BFF, who happens to teach next door to me 🙂
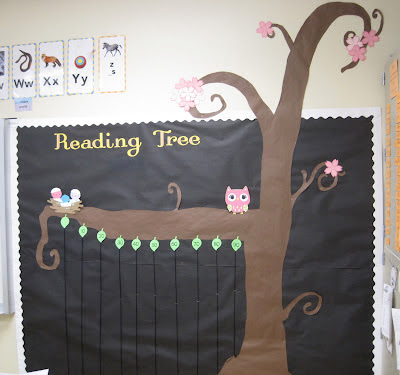
I cut out cherry blossom, leaves and little creatures with my Cricut.
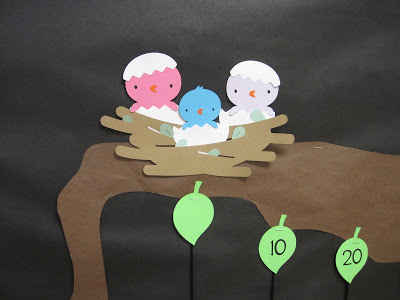
I and the student monitor our progress on the fluency tree by moving their clips from one side starting at 0 to 90 for the end of the year. You can number their clips so that they can’t see who is where. Before putting the clips up, we have in depth conversations about us making progress at different times and they never make anyone feel bad about where they are on the tree. They love moving their little owl up to the next level when they meet a goal!

This little owl is so cute!
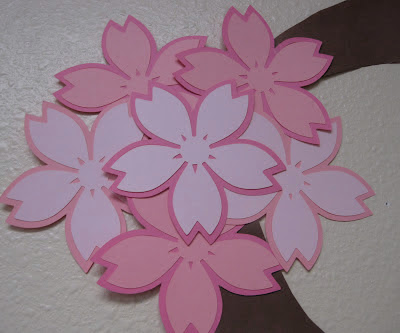
A close up of my cherry blossoms.
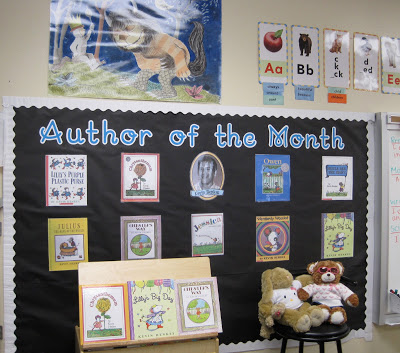
This is my author of the month wall. I copied the covers of several books by one author and we read the books throughout the month. The kids have developed a very strong connection to the authors. It’s awesome when they come back from the library with even more books by the author of the month. I also cut the letters out with my Cricut.
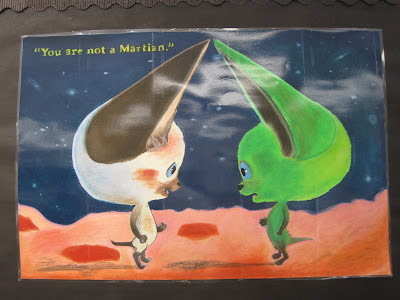
I hope you all know about Skippy! I had been looking for posters from my favorite books for a long while. I couldn’t find any good ones that were the right size or had good pictures, so I decided to create my own! Each of these posters took about 10 hours to color with oil pastels. This one is my favorite! It’s pretty big and took so much work, but definately worth it!
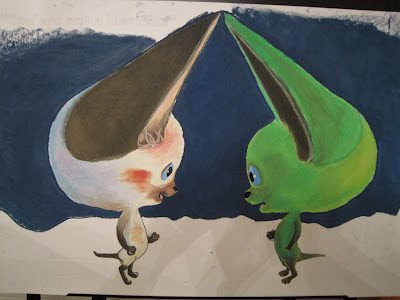
This is what it looked like while I was working on it. It was painful putting it through the laminator 🙁 Some of the oils melted and spread in the wrong places. It’s hard to notice it though.
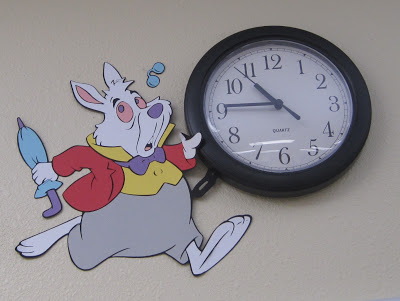
This brilliant idea was from my husband. My BFF and I read Alice In Wonderland each year and my kids fall in love with the characters from the story! I got this Cricut cartridge with Disney characters and when my husband saw him, he said that I should make him hold my classroom clock! Genius!!
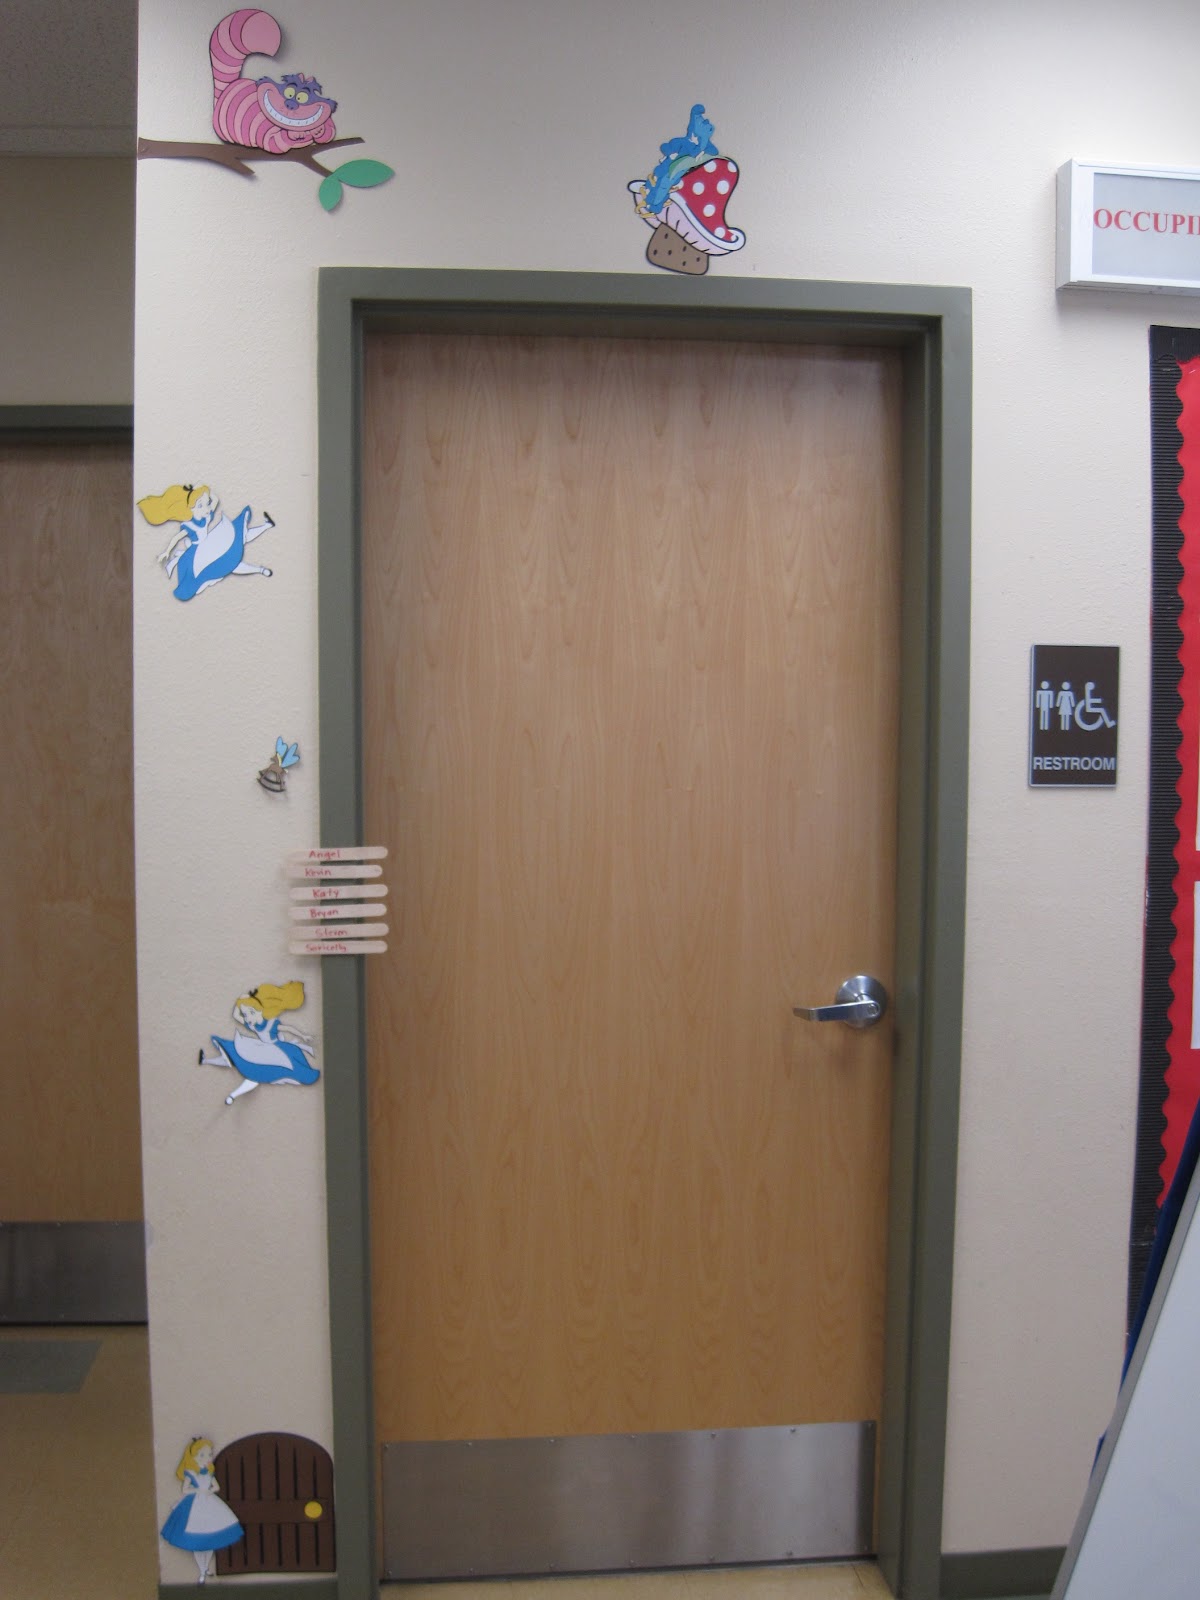
This is a view around my bathroom door. We are blessed in having a bathroom. We have to share it, but it beats having to send my kids outside and having the classroom door open all day long. This theme around the bathroom inspired my blog name. The sticks that you see on the side of the door are my bathroom management sticks. I will post about that soon 🙂

Alice is falling down the side of the wall and she lands by the door here on the bottom. I had to piece this door together by welding several shapes together and then cutting them with my Cricut.

Here is the Chesire cat:) The kids love his grin!
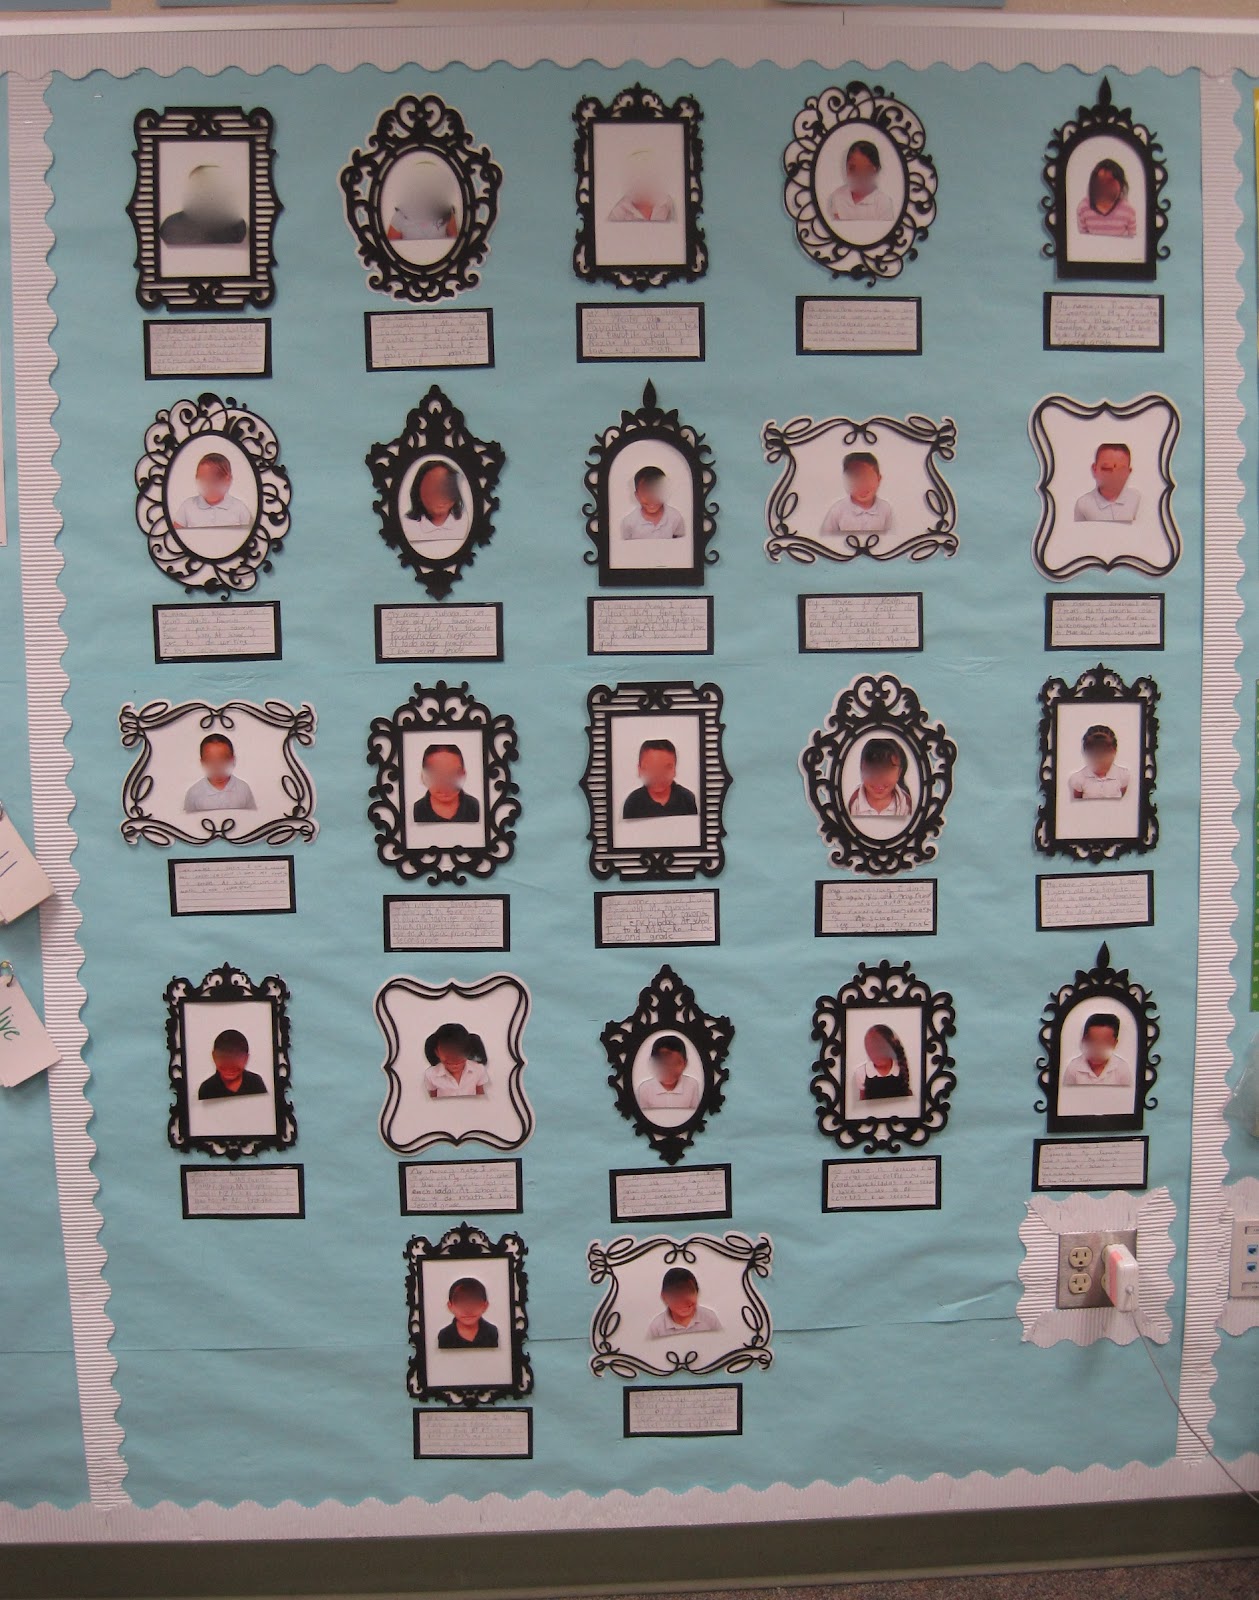
I LOVE this wall! Each child’s picture is in one of these frames. We did this activity at the beginning of the year and they wrote about themselves. It give my kids a sense of pride of our classroom and helped us feel like a family/community. They also loved picking out their own frame! I cut the frames with my Cricut at about 10 inches.